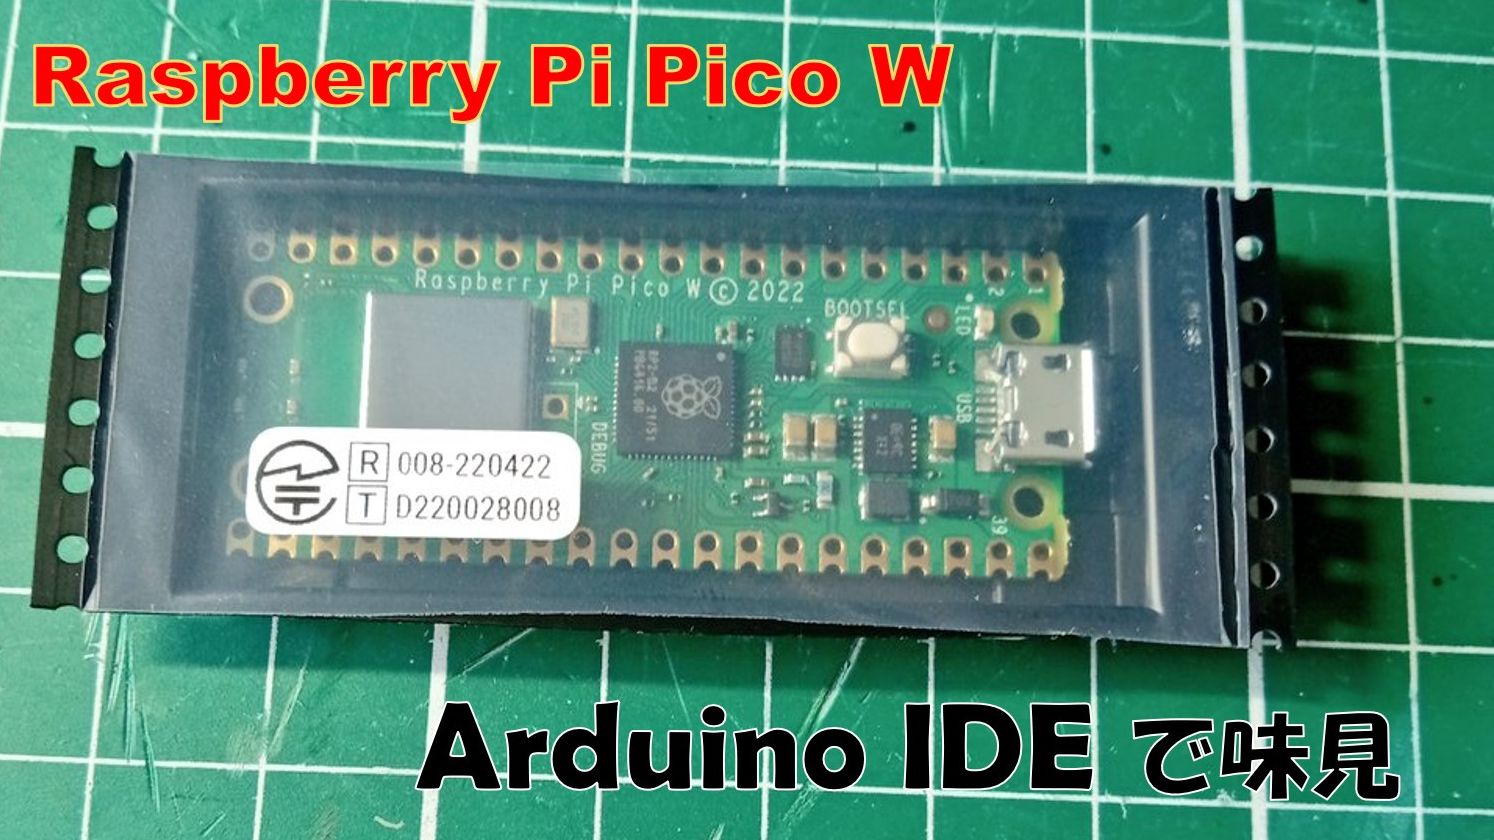
Raspberry Pi Pico W を Arduino IDE で味見
本記事にはアフィリエイト広告が含まれます。
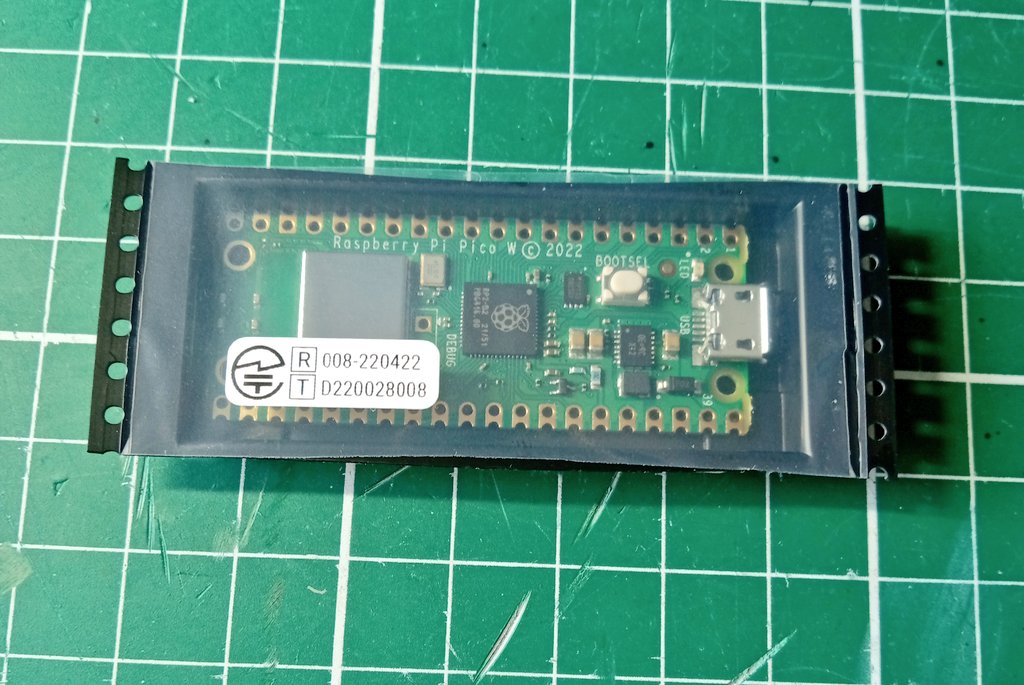
やっと憧れのRaspberry Pi Pico W を入手することができました。
これまで Raspberry Pi Pico の開発はC/C++で行っておりましたが、Arduino IDE環境も整っていそうだったので、ここではArduino IDEで楽しんでみました。
目次
Arduino IDE環境
Arduino用のボードライブラリとして以下を使用しました。
Raspberry Pi PicoやRaspberry Pi Pico Wにくわえて各種RP2040搭載マイコンに対応しています。
ありがたい!
Lチカ
さっそくArduino環境でLチカしてみました。
Raspberry Pi Pico WはLEDがInfineon無線チップのIO (WL_GPIO0)で制御されており若干不安でしたが、
pinMode(LED_BUILTIN, OUTPUT); で簡単にピン指定して制御できました。
フツ―に
pinMode(LED_BUILTIN, OUTPUT);
でいけた。 pic.twitter.com/neWuuQ9uOz— HomeMadeGarbage (@H0meMadeGarbage) March 30, 2023
初めてRaspberry Pi Pico をArduino IDEでいじることができました。
WiFi (STAモード)
Raspberry Pi Pico W の “W” たる所以でありますWiFi接続を楽しみたいと思います。
導入したライブラリにはこれまたありがたいことにWebサーバーサンプルコードもありました。
このコードを参考にブラウザのボタンでLEDをON/OFFできるようにしてみました。
Raspberry Pi Pico W
Arduino IDEで味見
WiFiも使える素晴らしいライブラリがあって大助かりWebサーバーサンプルコードを参考にLED操作
これをAPモードで是非実施したい。ライブラリ:https://t.co/dJBG5IgWDR#IoT pic.twitter.com/uuYEv8gb2Q
— HomeMadeGarbage (@H0meMadeGarbage) March 30, 2023
無事にRaspberry Pi Pico WとWiFi通信ができました。
Arduinoコード
AdvanceWebServer.ino を参考にコーディング
|
1 2 3 4 5 6 7 8 9 10 11 12 13 14 15 16 17 18 19 20 21 22 23 24 25 26 27 28 29 30 31 32 33 34 35 36 37 38 39 40 41 42 43 44 45 46 47 48 49 50 51 52 53 54 55 56 57 58 59 60 61 62 63 64 65 66 67 68 69 70 71 72 73 74 75 76 77 78 79 80 81 82 83 84 85 86 87 88 89 90 91 92 93 94 95 96 97 98 99 100 101 102 103 104 105 106 107 108 109 110 111 112 113 |
#include <WiFi.h> #include <WiFiClient.h> #include <WebServer.h> #ifndef STASSID #define STASSID "WiFIのSSID" #define STAPSK "WiFIのパスワード" #endif const char *ssid = STASSID; const char *password = STAPSK; WebServer server(80); int Mode = 0; String ledBt = "off"; void handleRoot() { String temp ="<!DOCTYPE html> \n<html lang=\"ja\">"; temp +="<head>"; temp +="<meta charset=\"utf-8\">"; temp +="<title>picoW</title>"; temp +="<meta name=\"viewport\" content=\"width=device-width, initial-scale=1\">"; temp +="<style>"; temp +=".container{"; temp +=" max-width: 500px;"; temp +=" margin: auto;"; temp +=" text-align: center;"; temp +=" font-size: 1.2rem;"; temp +="}"; temp +="span,.pm{"; temp +=" display: inline-block;"; temp +=" border: 1px solid #ccc;"; temp +=" width: 50px;"; temp +=" height: 30px;"; temp +=" vertical-align: middle;"; temp +=" margin-bottom: 20px;"; temp +="}"; temp +="span{"; temp +=" width: 120px;"; temp +="}"; temp +="button{"; temp +=" width: 100px;"; temp +=" height: 40px;"; temp +=" font-weight: bold;"; temp +=" margin-bottom: 20px;"; temp +="}"; temp +="button.on{ background:lime; color:white; }"; temp +=".column-2{ max-width:250px; margin:auto; text-align:center; display:flex; justify-content:space-between; flex-wrap:wrap; }"; temp +="</style>"; temp +="</head>"; temp +="<body>"; temp +="<div class=\"container\">"; temp +="<h3>picoW</h3>"; //ボタン //temp +="<div class=\"column-2\">"; temp +="<button class=\"" + ledBt + "\" type=\"button\" ><a href=\"/Led\">LED</a></button><br>"; //temp +="</div>"; temp +="</div>"; temp +="</body>"; server.send(200, "text/HTML", temp); } void Led() { if(ledBt == "off"){ ledBt = "on"; Mode = 1; }else{ ledBt = "off"; Mode = 0; } handleRoot(); } void setup(void) { pinMode(LED_BUILTIN, OUTPUT); Serial.begin(115200); WiFi.mode(WIFI_STA); WiFi.begin(ssid, password); Serial.println(""); // Wait for connection while (WiFi.status() != WL_CONNECTED) { delay(500); Serial.print("."); } Serial.println(""); Serial.print("Connected to "); Serial.println(ssid); Serial.print("IP address: "); Serial.println(WiFi.localIP()); server.on("/", handleRoot); server.on("/Led", Led); server.begin(); Serial.println("HTTP server started"); } void loop(void) { server.handleClient(); if(Mode){ digitalWrite(LED_BUILTIN, HIGH); }else{ digitalWrite(LED_BUILTIN, LOW); } } |
WiFi (APモード)
つづいてRaspberry Pi Pico W をアクセスポイントにして直接WiFi通信するAPモードを試してみました。
APモードでも通信出来た
WiFi.mode(WIFI_STA)からWiFi.mode(WIFI_AP) に変更してSSIDやIPの調整だけ動画では全く分からないけどスマホからpico Wに直接つないで通信しています。本当です。#RaspberryPi pic.twitter.com/AKsWYJWAp5
— HomeMadeGarbage (@H0meMadeGarbage) March 30, 2023
分かりにくいですが外部のネットワークは使用せずにスマホからpico Wに直接つないで通信しています。
Arduinoコード
先ほどのSTAモードのコードのWiFi.mode(WIFI_STA)をWiFi.mode(WIFI_AP) に変更してSSIDやIPの調整だけで実現できました。
|
1 2 3 4 5 6 7 8 9 10 11 12 13 14 15 16 17 18 19 20 21 22 23 24 25 26 27 28 29 30 31 32 33 34 35 36 37 38 39 40 41 42 43 44 45 46 47 48 49 50 51 52 53 54 55 56 57 58 59 60 61 62 63 64 65 66 67 68 69 70 71 72 73 74 75 76 77 78 79 80 81 82 83 84 85 86 87 88 89 90 91 92 93 94 95 96 97 98 99 100 101 102 103 104 105 106 107 |
#include <WiFi.h> #include <WiFiClient.h> #include <WebServer.h> const char ssid[] = "picoW"; // SSID const char pass[] = "password"; // password const IPAddress ip(192, 168, xx, xx); // IPアドレス const IPAddress subnet(255, 255, 255, 0); // サブネットマスク WebServer server(80); int Mode = 0; String ledBt = "off"; void handleRoot() { String temp ="<!DOCTYPE html> \n<html lang=\"ja\">"; temp +="<head>"; temp +="<meta charset=\"utf-8\">"; temp +="<title>picoW</title>"; temp +="<meta name=\"viewport\" content=\"width=device-width, initial-scale=1\">"; temp +="<style>"; temp +=".container{"; temp +=" max-width: 500px;"; temp +=" margin: auto;"; temp +=" text-align: center;"; temp +=" font-size: 1.2rem;"; temp +="}"; temp +="span,.pm{"; temp +=" display: inline-block;"; temp +=" border: 1px solid #ccc;"; temp +=" width: 50px;"; temp +=" height: 30px;"; temp +=" vertical-align: middle;"; temp +=" margin-bottom: 20px;"; temp +="}"; temp +="span{"; temp +=" width: 120px;"; temp +="}"; temp +="button{"; temp +=" width: 100px;"; temp +=" height: 40px;"; temp +=" font-weight: bold;"; temp +=" margin-bottom: 20px;"; temp +="}"; temp +="button.on{ background:lime; color:white; }"; temp +=".column-2{ max-width:250px; margin:auto; text-align:center; display:flex; justify-content:space-between; flex-wrap:wrap; }"; temp +="</style>"; temp +="</head>"; temp +="<body>"; temp +="<div class=\"container\">"; temp +="<h3>picoW</h3>"; //ボタン //temp +="<div class=\"column-2\">"; temp +="<button class=\"" + ledBt + "\" type=\"button\" ><a href=\"/Led\">LED</a></button><br>"; //temp +="</div>"; temp +="</div>"; temp +="</body>"; server.send(200, "text/HTML", temp); } void Led() { if(ledBt == "off"){ ledBt = "on"; Mode = 1; }else{ ledBt = "off"; Mode = 0; } handleRoot(); } void setup(void) { pinMode(LED_BUILTIN, OUTPUT); Serial.begin(115200); delay(50); WiFi.mode(WIFI_AP); WiFi.softAPConfig(ip, ip, subnet); WiFi.softAP(ssid, pass); delay(50); IPAddress myIP = WiFi.softAPIP(); // WiFi.softAPIP()でWiFi起動 Serial.print("SoftAPのIPアドレス: "); Serial.println(myIP); server.on("/", handleRoot); server.on("/Led", Led); server.begin(); Serial.println("HTTP server started"); } void loop(void) { server.handleClient(); if(Mode){ digitalWrite(LED_BUILTIN, HIGH); }else{ digitalWrite(LED_BUILTIN, LOW); } } |
I2C味見
I2Cの味見としてOLED表示を試しました。
Adafruit_SSD1306ライブラリで問題なく動作しましたが、I2Cのピン指定のみ以下のようにする必要がありました。すこし独特です。
Wire.setSDA(0);
Wire.setSCL(1);
Wire.begin();
問題なく動いた pic.twitter.com/QGcATk6axK
— HomeMadeGarbage (@H0meMadeGarbage) March 30, 2023
参考
おわりに
ここでは Raspberry Pi Pico W をArduino IDEで楽しみました。
ありがたいライブラリのおかげでArduinoマイコンやESP32と同じように楽しむことができました。
引き続き、マルチコアやモータ駆動なども試してみたいと思います。
また報告させていただきます。
