Clock Arm 時計を自作
本記事にはアフィリエイト広告が含まれます。
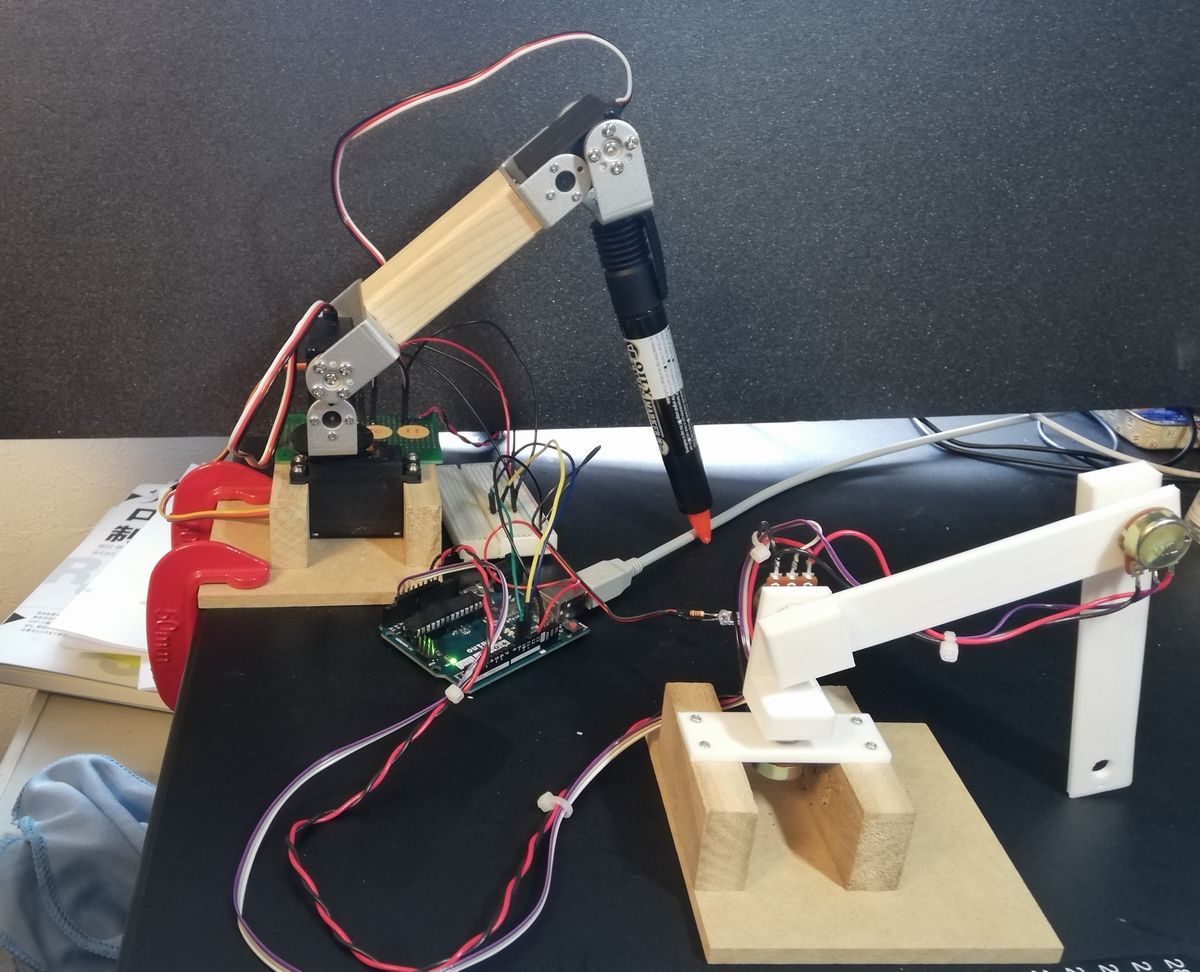
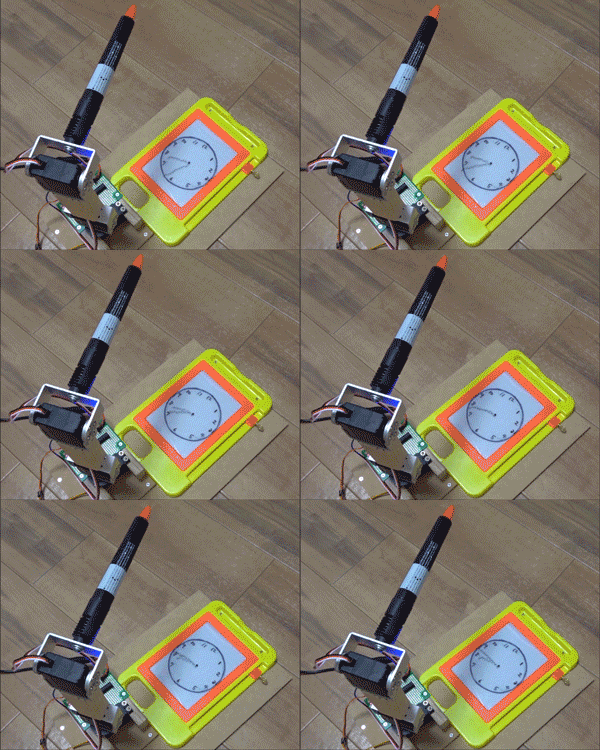
以前作ったロボットアームで時計をこしらえました。
こんな時期ですから自宅でものつくるか時計眺めるしかないですもんね。
一挙両得
目次
動作
早速動きを見てください。
Clock Arm
これがあれば自宅待機でも退屈しません。#clockArm pic.twitter.com/P3HMaR7RIf
— HomeMadeGarbage (@H0meMadeGarbage) April 12, 2020
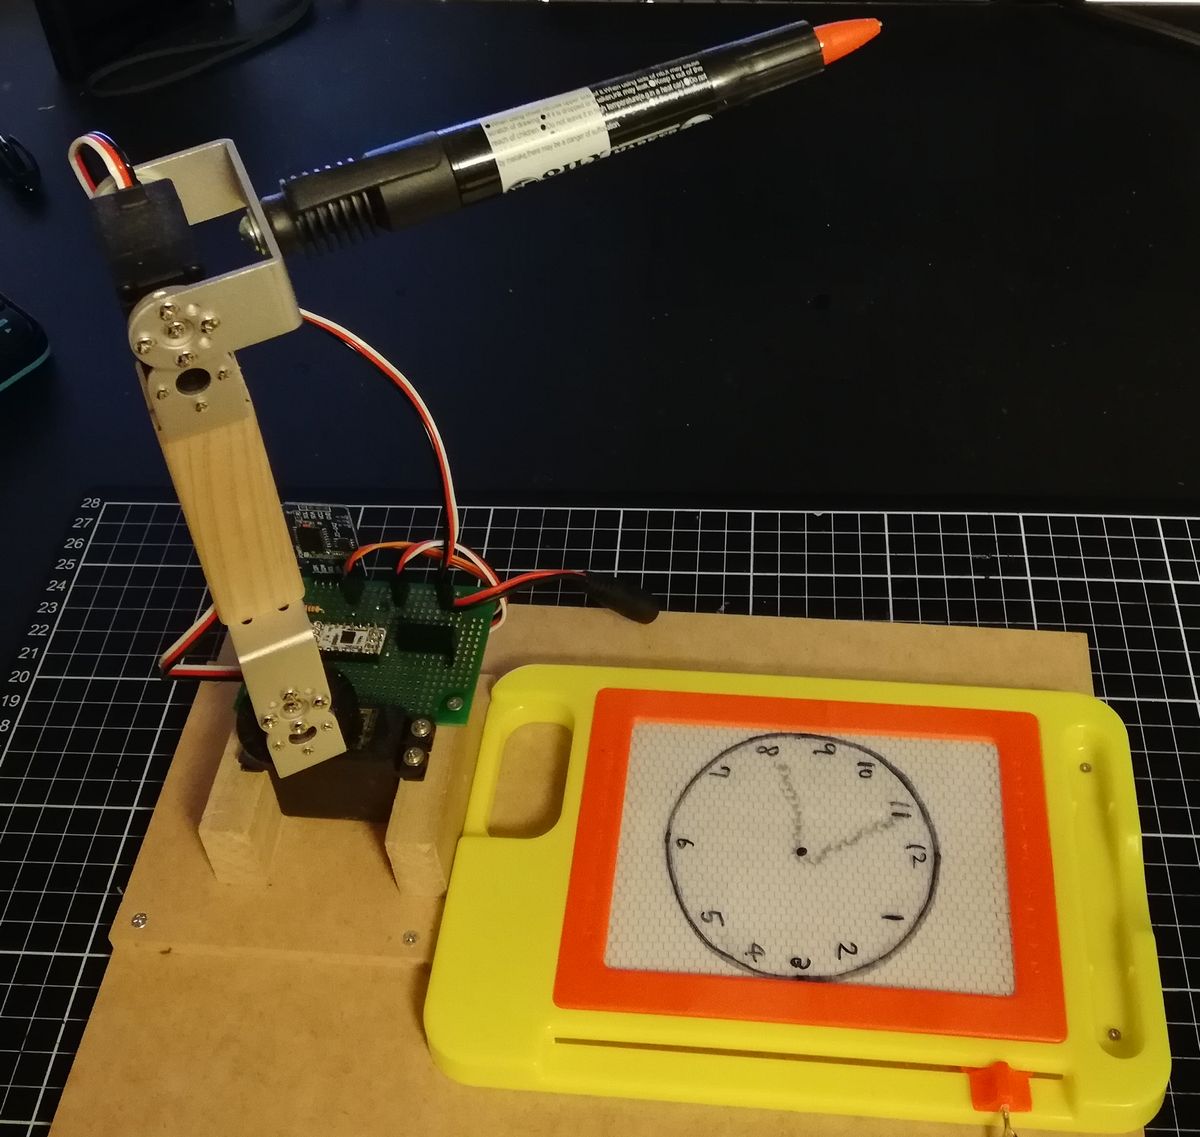
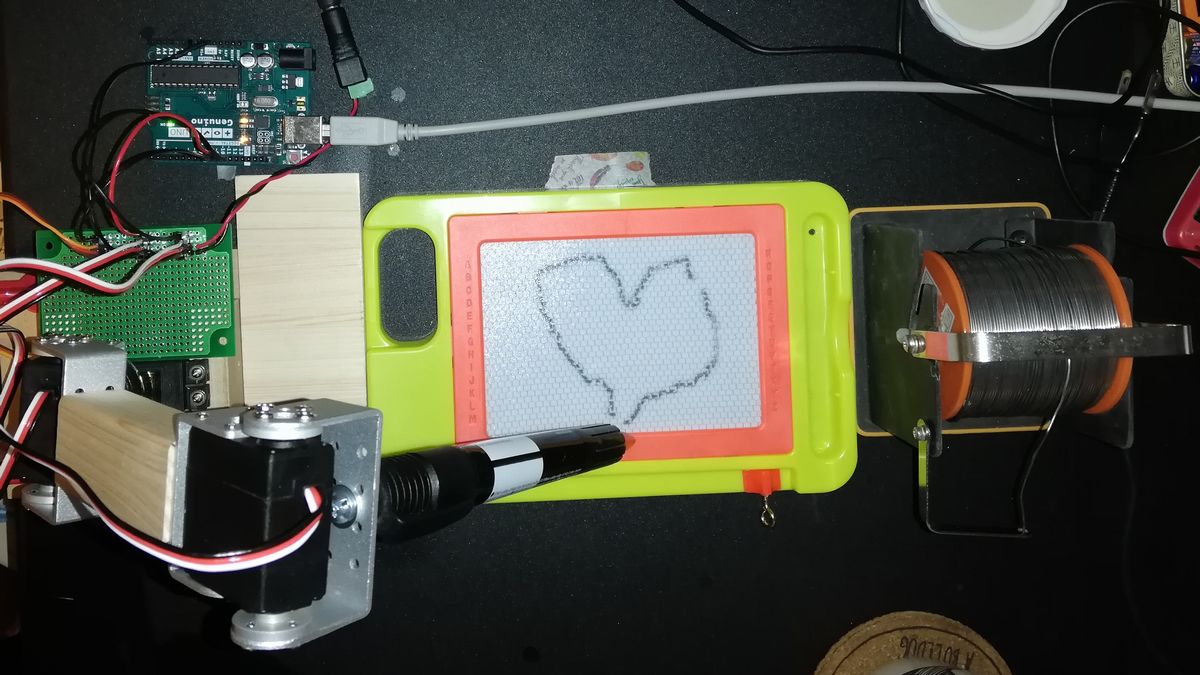
100均のマグネットボードに時計の枠と数字を書いたプラ板をはさんで、マグネットのペン先を仕込んだロボットアームに長針・短針を描いて時を刻みます。
1分おきに消しながら針を描きます。
構成
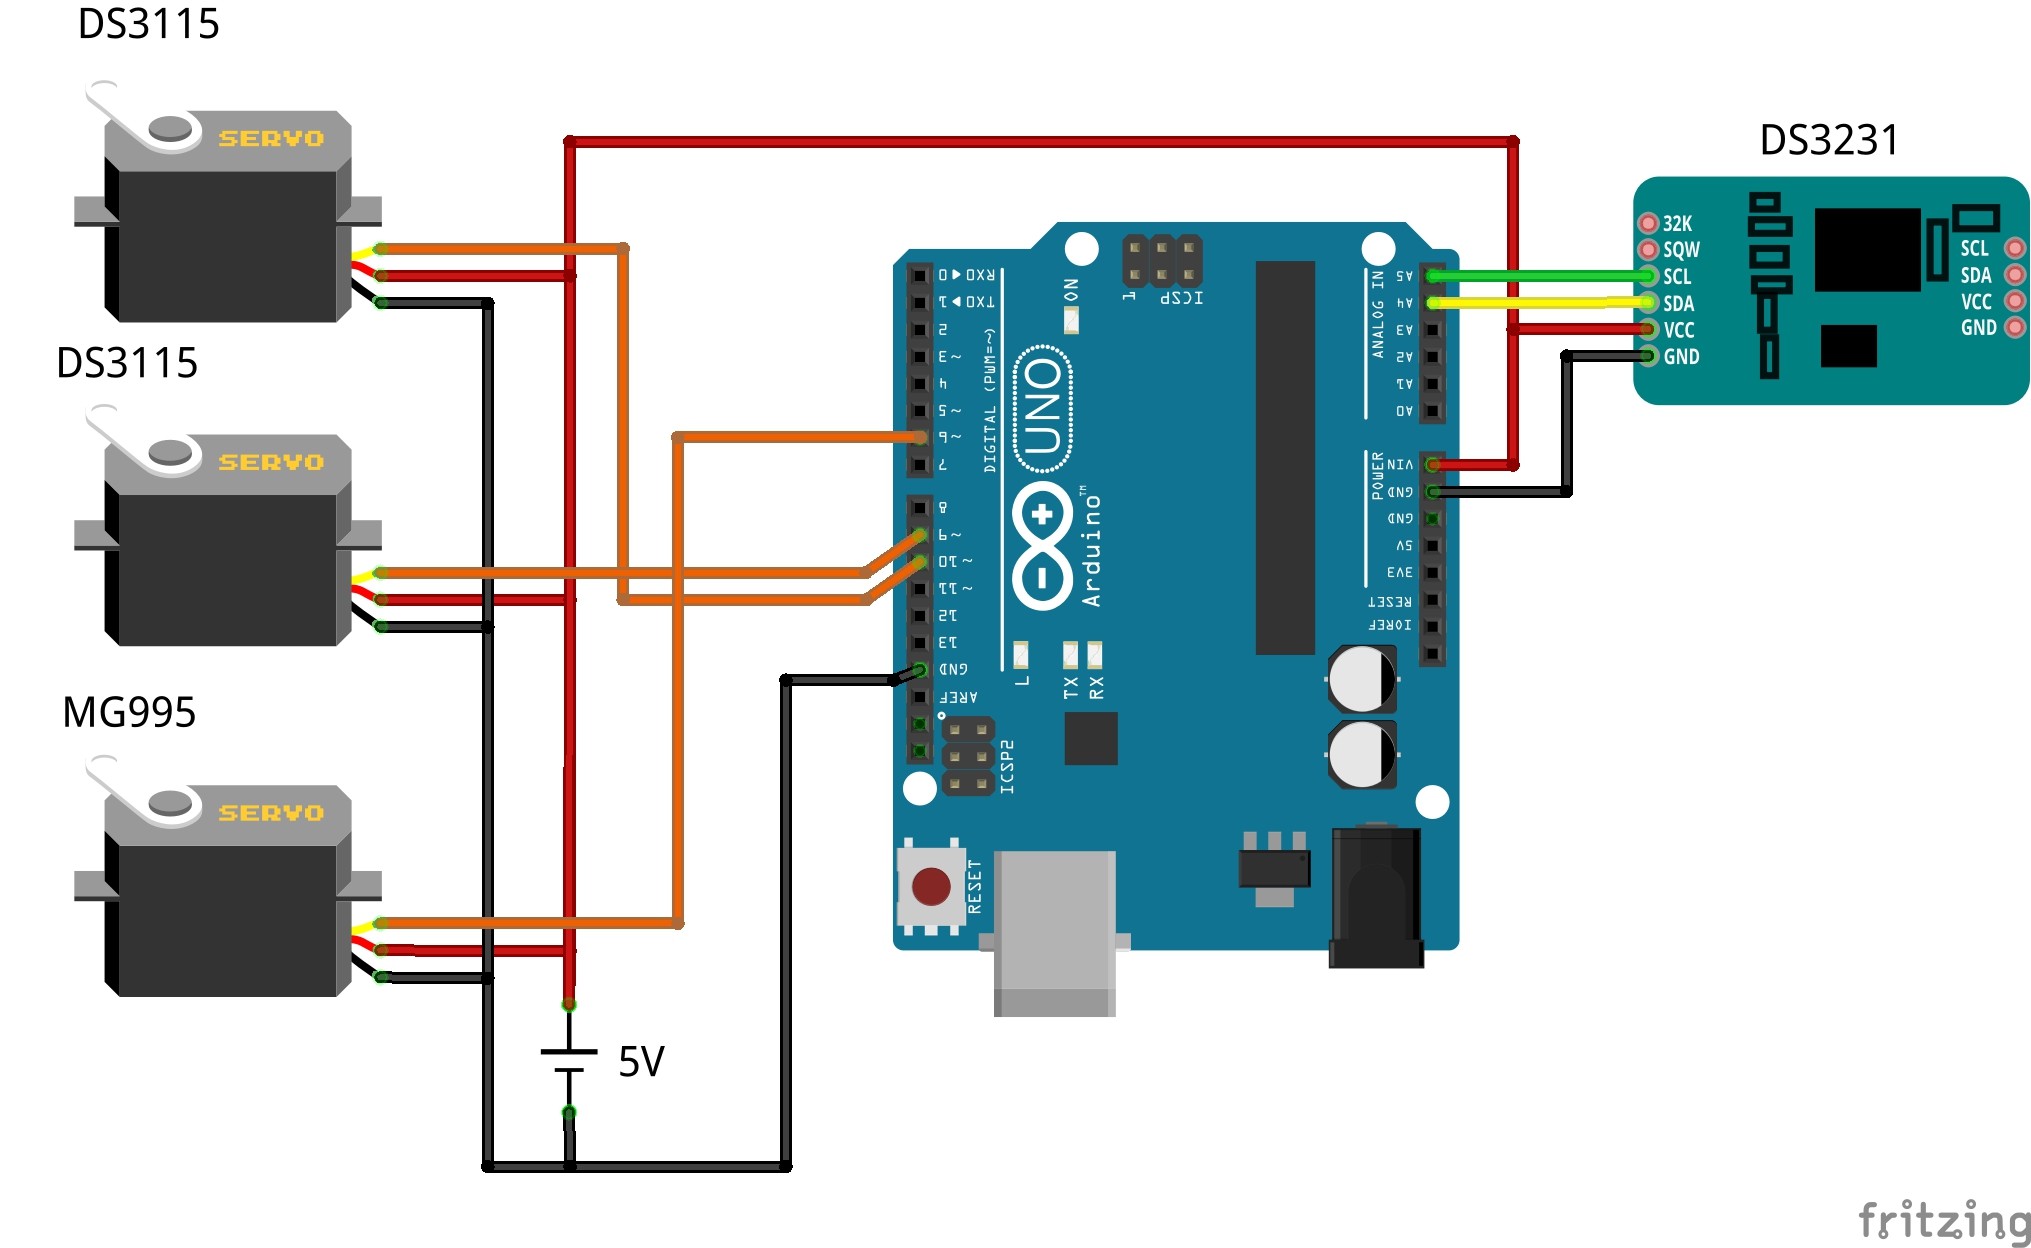
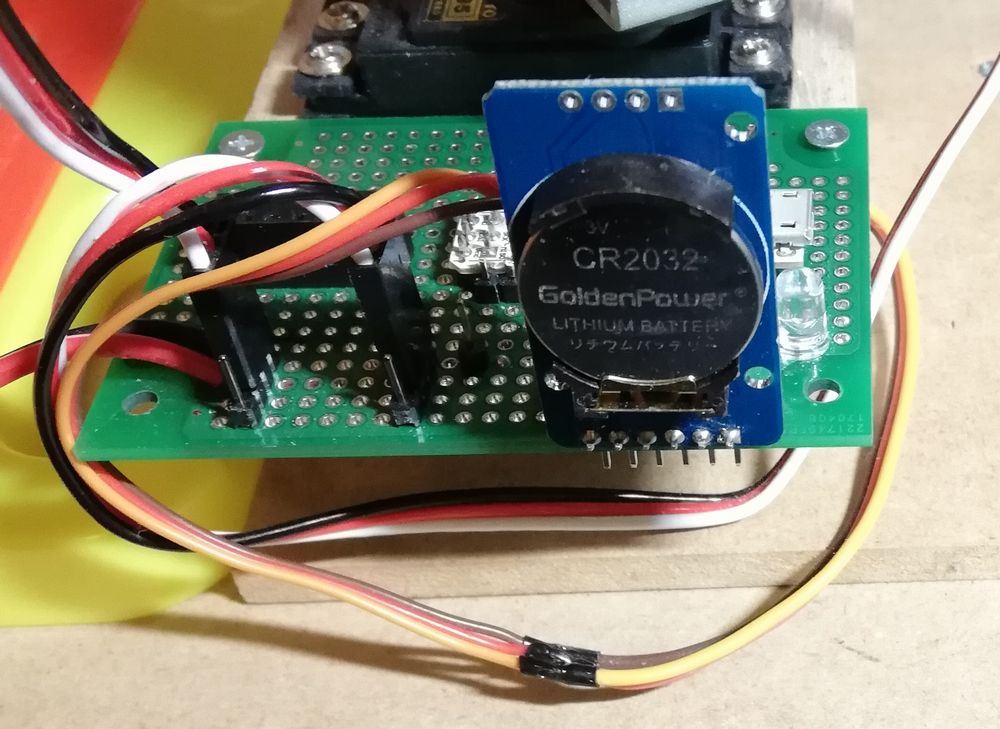
ロボットアームにRTCを追加して時計を構成します。
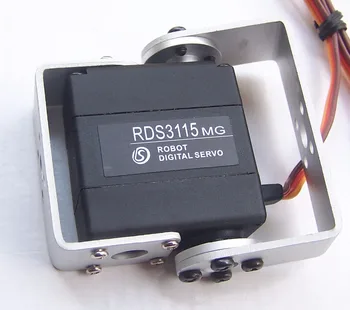
サーボモータDS3115の2つを縦方向、サーボモータMG995を首振り方向に使用しました。
部品
Arduinoコード
|
1 2 3 4 5 6 7 8 9 10 11 12 13 14 15 16 17 18 19 20 21 22 23 24 25 26 27 28 29 30 31 32 33 34 35 36 37 38 39 40 41 42 43 44 45 46 47 48 49 50 51 52 53 54 55 56 57 58 59 60 61 62 63 64 65 66 67 68 69 70 71 72 73 74 75 76 77 78 79 80 81 82 83 84 85 86 87 88 89 90 91 92 93 94 95 96 97 98 99 100 101 102 103 104 105 106 107 108 109 110 111 112 113 114 115 116 117 118 119 120 121 122 123 124 125 126 127 128 129 130 131 132 133 134 135 136 137 138 139 140 141 142 143 144 145 146 147 148 149 150 151 152 153 154 155 156 157 158 159 160 161 162 163 164 165 166 167 168 169 170 171 172 173 174 175 176 177 178 179 180 181 182 183 184 185 186 187 188 189 190 191 192 193 194 195 196 197 198 199 200 201 202 203 204 205 206 207 208 209 210 211 212 213 214 215 216 217 218 219 220 221 222 223 224 225 226 227 228 229 230 231 |
#include <Servo.h> #include <Wire.h> #include <DS3231.h> DS3231 clock; RTCDateTime dt; Servo myservo1, myservo2, myservo3; float th1=90.0,th2=90.0,th3=90.0; float phi,ld,l; float L1=92.0,L2=137.0,L3=190.0; int x = -100,y = 165,z = 225; float rad = 0.0; float radlong = 1.4; char c; int shortHand = 0, longHand = 0, longHandOld = 0; void setup() { Serial.begin(9600); myservo1.attach(6, 500, 2420); //MG995 myservo2.attach(9, 820, 2140); //DS3115 myservo3.attach(10, 820, 2140); //DS3115 ik(x, y, z); //初期姿勢 clock.begin(); // Set sketch compiling time //clock.setDateTime(__DATE__, __TIME__); } void loop() { dt = clock.getDateTime(); shortHand = dt.hour; if(shortHand >= 12){ shortHand -= 12; } longHand = dt.minute; if(longHand != longHandOld){ Serial.print(shortHand); Serial.print(":"); Serial.println(longHand); erase(); shand(shortHand, longHand); lhand(longHand); ini(); } longHandOld = longHand; delay(10000); } void ik(float x,float y,float z){ th1=atan2(y,x); l=sqrt(x*x + y*y); ld=sqrt(l*l + (z-L1)*(z-L1)); phi=atan2((z-L1),l); th2=phi + acos((ld*ld+L2*L2-L3*L3)/(2.0*ld*L2)); th3=asin((ld*ld-L2*L2-L3*L3)/(2.0*L2*L3)) + M_PI /2.0; th1=th1*180.0/M_PI ; th2=th2*180.0/M_PI ; th3=th3*180.0/M_PI ; set_servo(); } void set_servo(){ myservo1.write(th1); myservo2.write(th2); myservo3.write(th3); } //短針描画 void shand(int h, int m){ ik(0, 140, 60); delay(100); if(h <= 3){ z = 1; rad = 25.0; }else if(h <= 5){ z = 6; rad = 28.0; }else if(h <= 7){ z = 6; rad = 35.0; }else if(h < 9){ z = 6; rad = 30.0; }else if(h >= 9){ z = 1; rad = 25.0; } for(int i = 60; i >= z; i-=1){ ik(0, 140, i); delay(10); } float th = 2.0 * M_PI / 12.0 * h + 2.0 * M_PI / (12.0 * 60.0) * m; for(int i = 0; i <= 60; i+=1){ x = rad/60.0*sin(th)*i; y = 140+(rad/60.0*cos(th))*i; ik(x, y, z); delay(30); } for(int i = z; i <= 60; i+=1){ ik(x, y, i); delay(6); } z = 60; ik(x, y, z); delay(70); } //長針描画 void lhand(int m){ ik(0, 140, 60); delay(100); if(m <= 15){ z = 1; rad = 25.0 * radlong; }else if(m <= 25){ z = 6; rad = 28.0 * radlong; }else if(m <= 35){ z = 6; rad = 35.0 * radlong; }else if(m < 45){ z = 6; rad = 30.0 * radlong; }else if(m >= 45){ z = 1; rad = 25.0 * radlong; } for(int i = 60; i >= z; i-=1){ ik(0, 140, i); delay(10); } float th = 2.0 * M_PI / 60.0 * m; for(int i = 0; i <= 60; i+=1){ x = rad/60.0*sin(th)*i; y = 140+(rad/60.0*cos(th))*i; ik(x, y, z); delay(30); } for(int i = z; i <= 60; i+=1){ ik(x, y, i); delay(6); } z = 60; ik(x, y, z); delay(70); } //初期姿勢 void ini(){ x = -100; y = 165; z = 225; ik(x, y, z); delay(70); } //消去 void erase(){ ik(x, y, 60); delay(500); ik(x, 225, 60); delay(500); ik(80, 225, 60); delay(20); ik(80, 225, 60); delay(100); ik(80, 225, -5); for(int i = 225; i >= 200; i-=2){ ik(80, i, -5); delay(50); } ik(80, 215, 40); delay(200); for(int i = 215; i >= 120; i-=2){ ik(75, i, -5); delay(40); } ik(70, 140, 40); delay(200); for(int i = 140; i >= 90; i-=2){ ik(70, i, 0); delay(40); } ik(70, 90, 40); delay(100); ik(75, 85, 40); delay(100); for(int i = 85; i <= 155; i+=2){ ik(75, i, 0); delay(20); } ik(75, 135, -5); delay(100); for(int i = 135; i <= 210; i+=2){ ik(75, i, -5); delay(20); } ik(70, 180, 60); delay(100); x = 70; y = 180; z = 60; x = 0; } |
33行の clock.setDateTime(__DATE__, __TIME__) でコンパイル時の時刻をRTCモジュールに記録できます。以後はコメントアウトします。
RTC DS3231 時計モジュールはボタン電池で最初に記憶した時刻を保持させています。
製作のながれ
久々にロボットアームを動かしてみて、時計にできるんじゃね?
と思い立つ。
これを壁掛け時計として仕上げたら
贅沢な時を過ごせそう#Arduino pic.twitter.com/TWjZTFZsz0— HomeMadeGarbage (@H0meMadeGarbage) April 11, 2020
着想のモティーフは以下
Real Time: Schiphol Clock from Maarten Baas on Vimeo.
RTC DS3231のArduinoライブラリ動作を確認
ガチで時計にしてみようかと
RTCテスト pic.twitter.com/Opme3EzgqO— HomeMadeGarbage (@H0meMadeGarbage) April 12, 2020
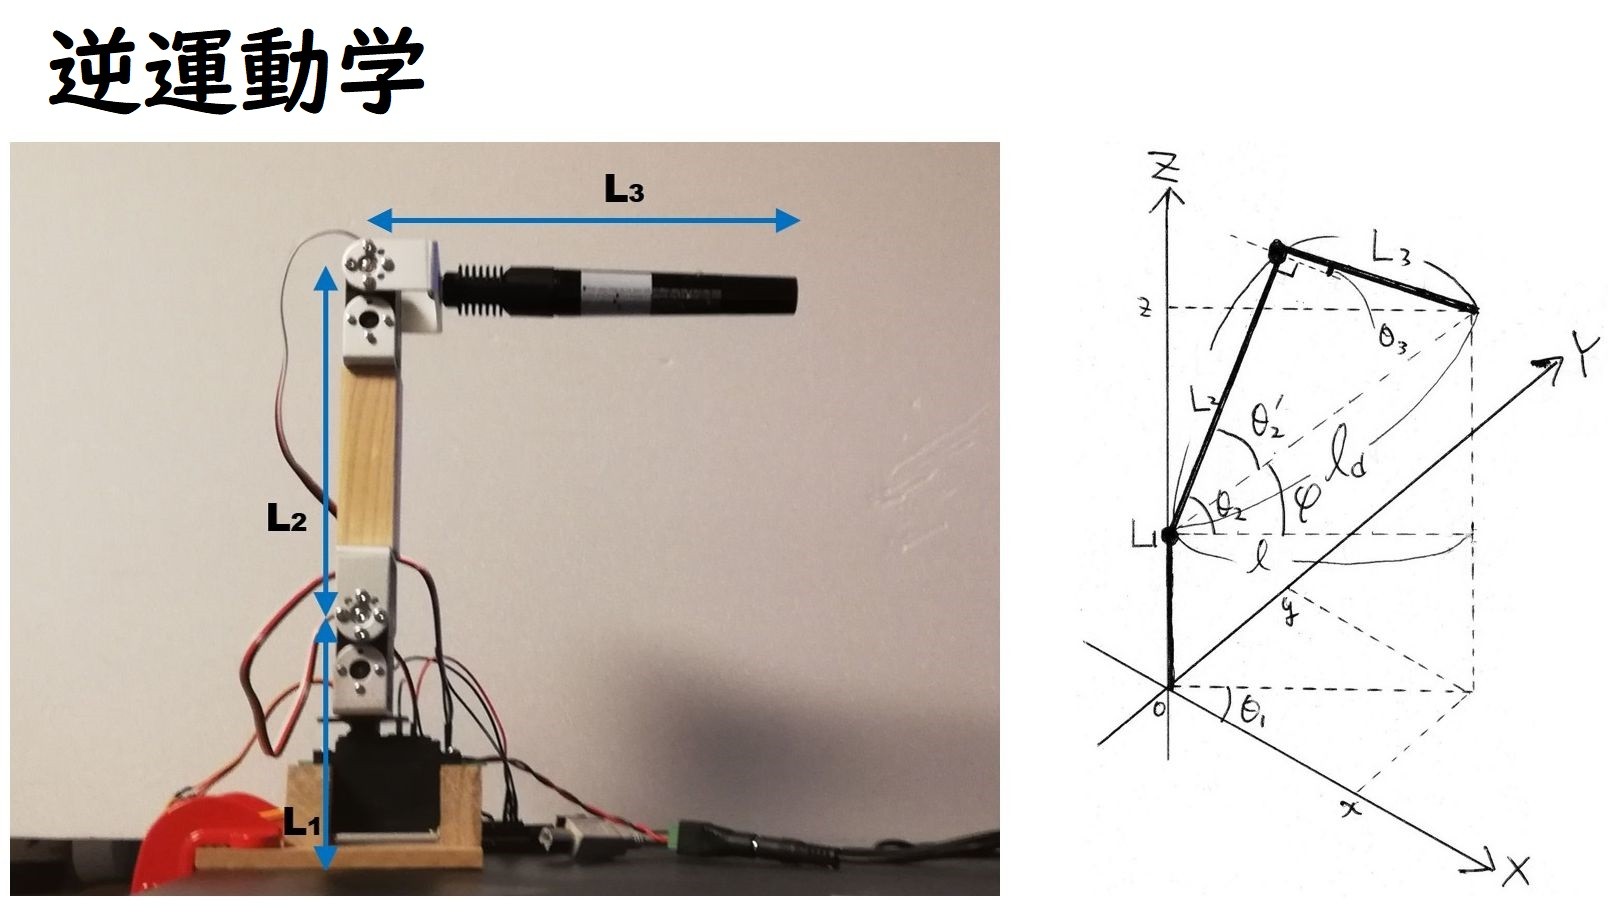
時計の針の描画の確認。三角関数でうまいこと座標導出し逆運動学で制御。
短針
1周60分割のテスト
健気(*´ω`*)#clockArm pic.twitter.com/FhIbQ3mOER— HomeMadeGarbage (@H0meMadeGarbage) April 12, 2020
そして完成!
出来たwww#clockArm pic.twitter.com/CLLqZQuqIJ
— HomeMadeGarbage (@H0meMadeGarbage) April 12, 2020
おわりに
これ割と見てられるので配信したいんですよね。
インスタライブちょっとやってみたけどうまくいってるのかわからず。。。
なんかいいサービスないか ちょっと調べてみよっと。

