First Step for Robotics
本記事にはアフィリエイト広告が含まれます。
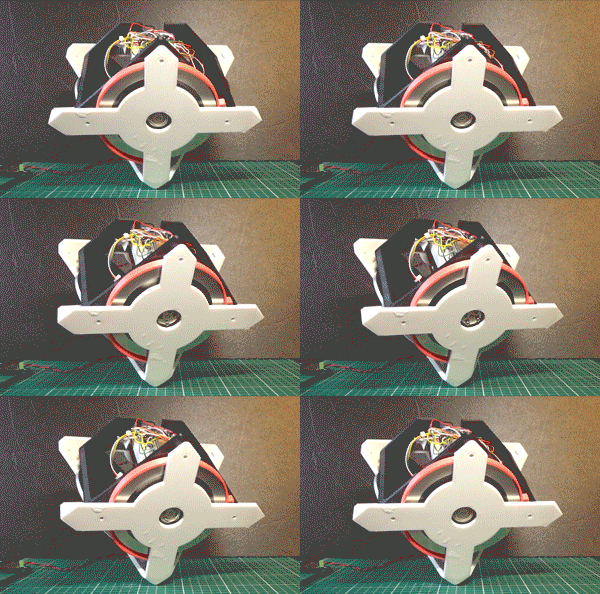
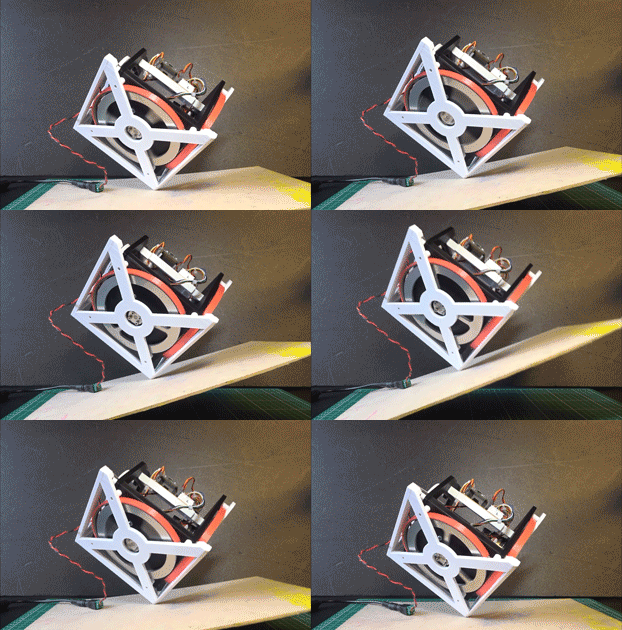
I wanted to make a robot. However, I could only make a foot because my money ran out.
目次
Configuration
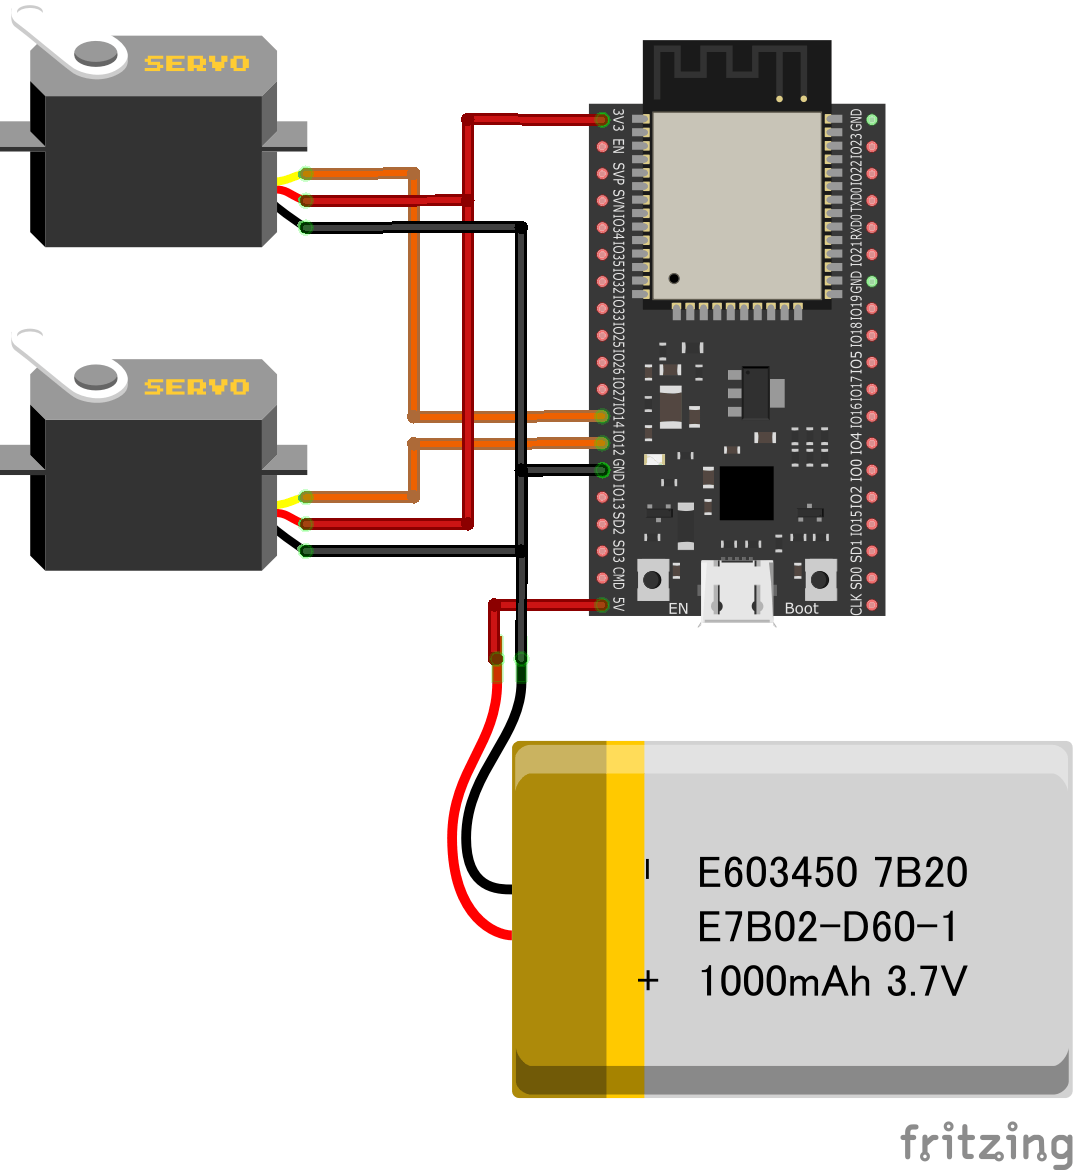
Two servo motors are controlled by ESP32. ESP32 is controlled by smartphone app Blynk via WiFi.
Parts
- BLE, WiFi built-in microcontroller board ESP32-DevKitC
- Servo motor SG-90
- LiPo battery 400mAh
- Mounting Universal Plate
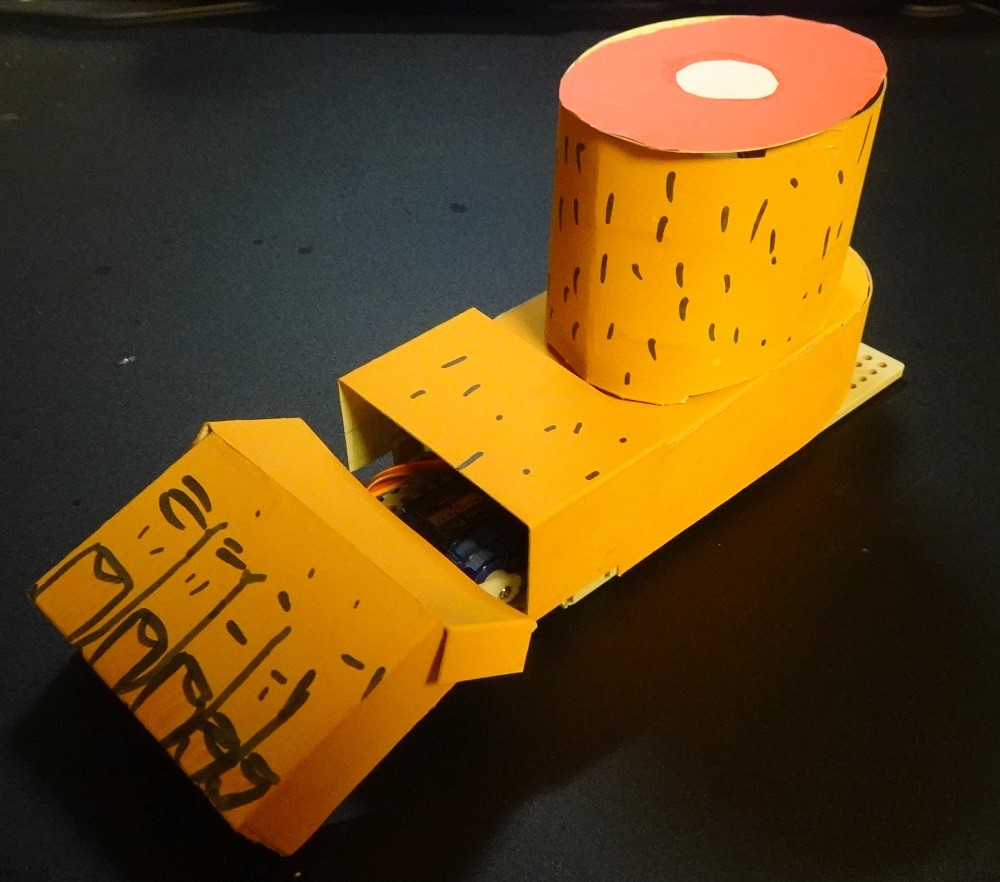
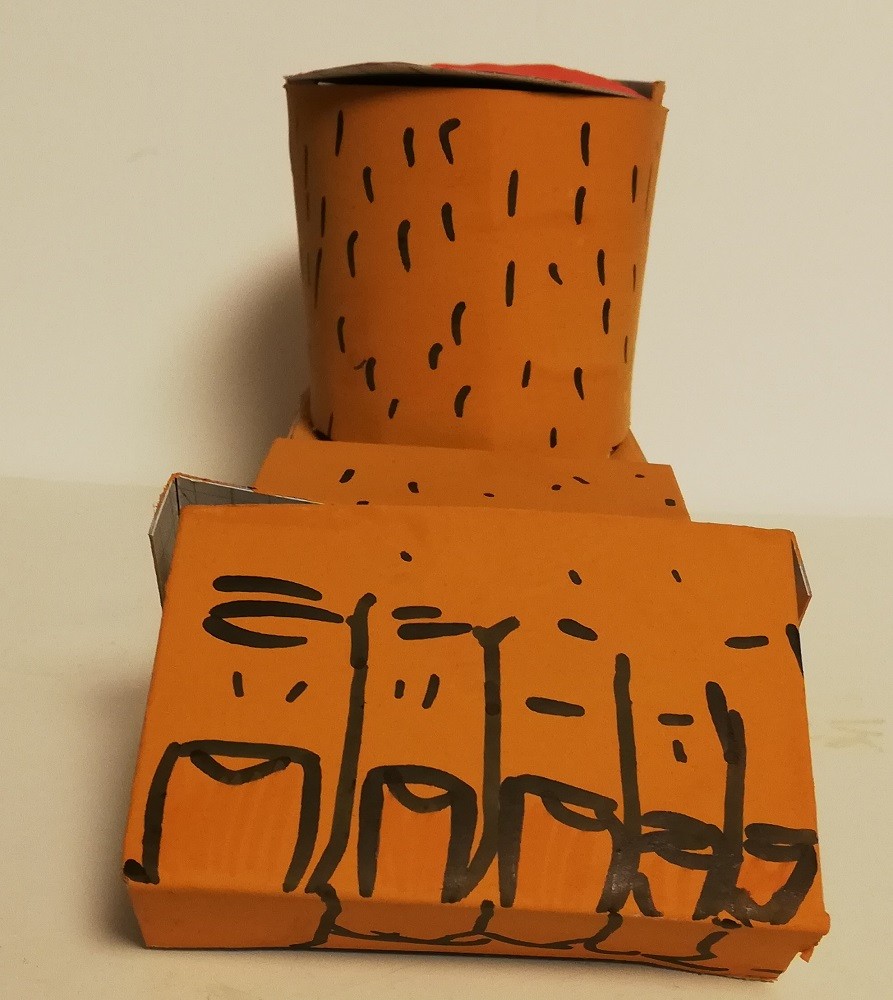
Feet
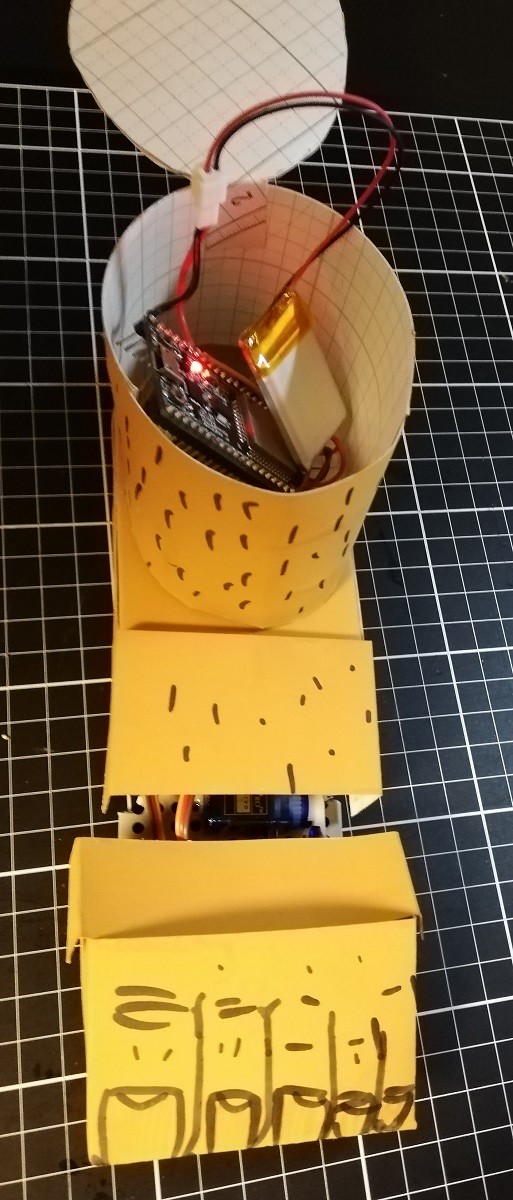
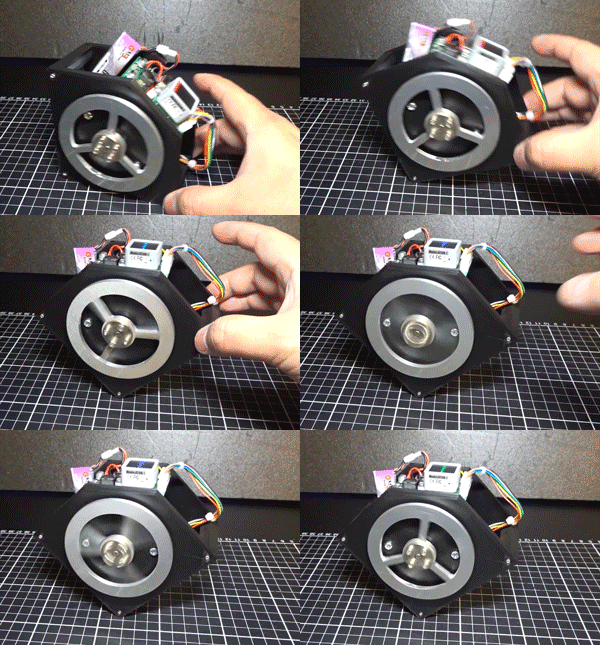
The inside is like this.
I did the robo in my own.#ESP32 #Blynk pic.twitter.com/Fx5NqNK6te
— HomeMadeGarbage (@H0meMadeGarbage) May 23, 2019
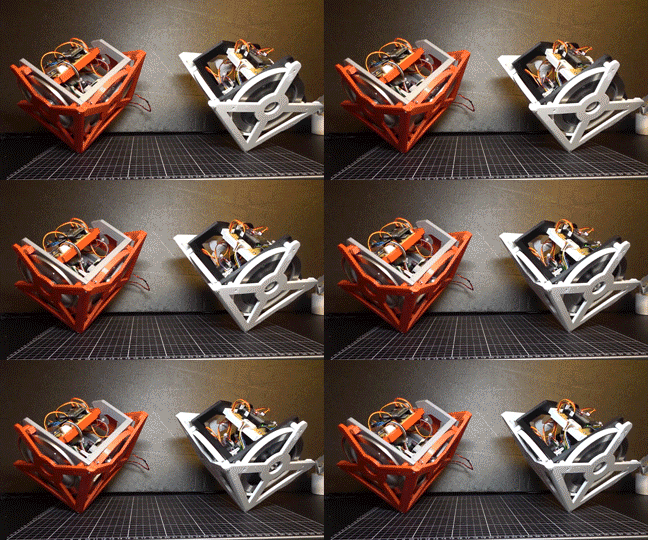
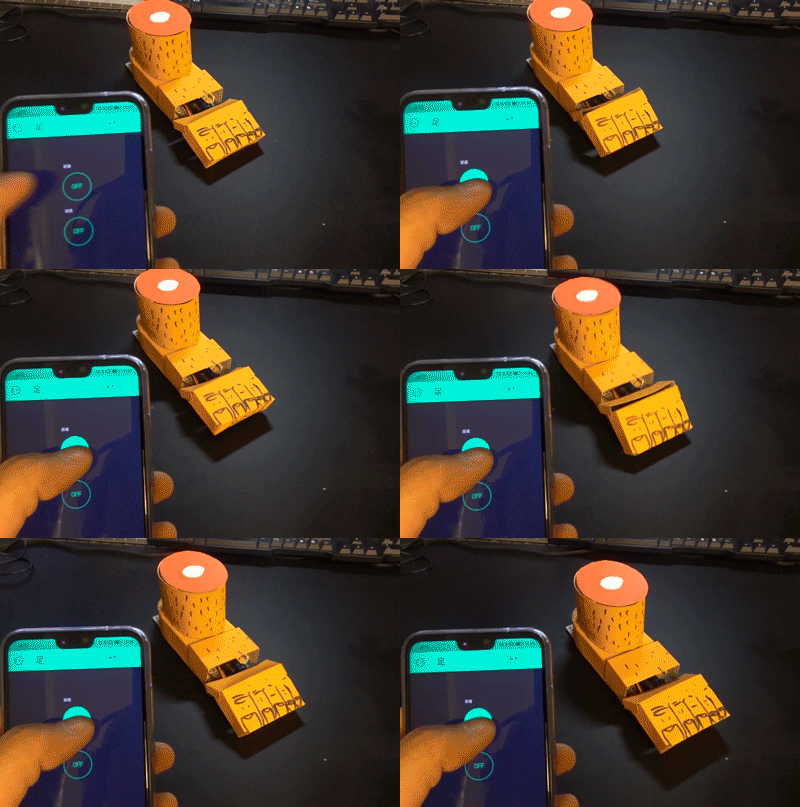
I created a cool body with cardboard.
Inside like this
Blynk settings
Smartphone and ESP32 board will be WiFi communication using the Blynk of the smartphone app.Move the foot with the forward/backward button.The Blynk app version is 2.27.5.
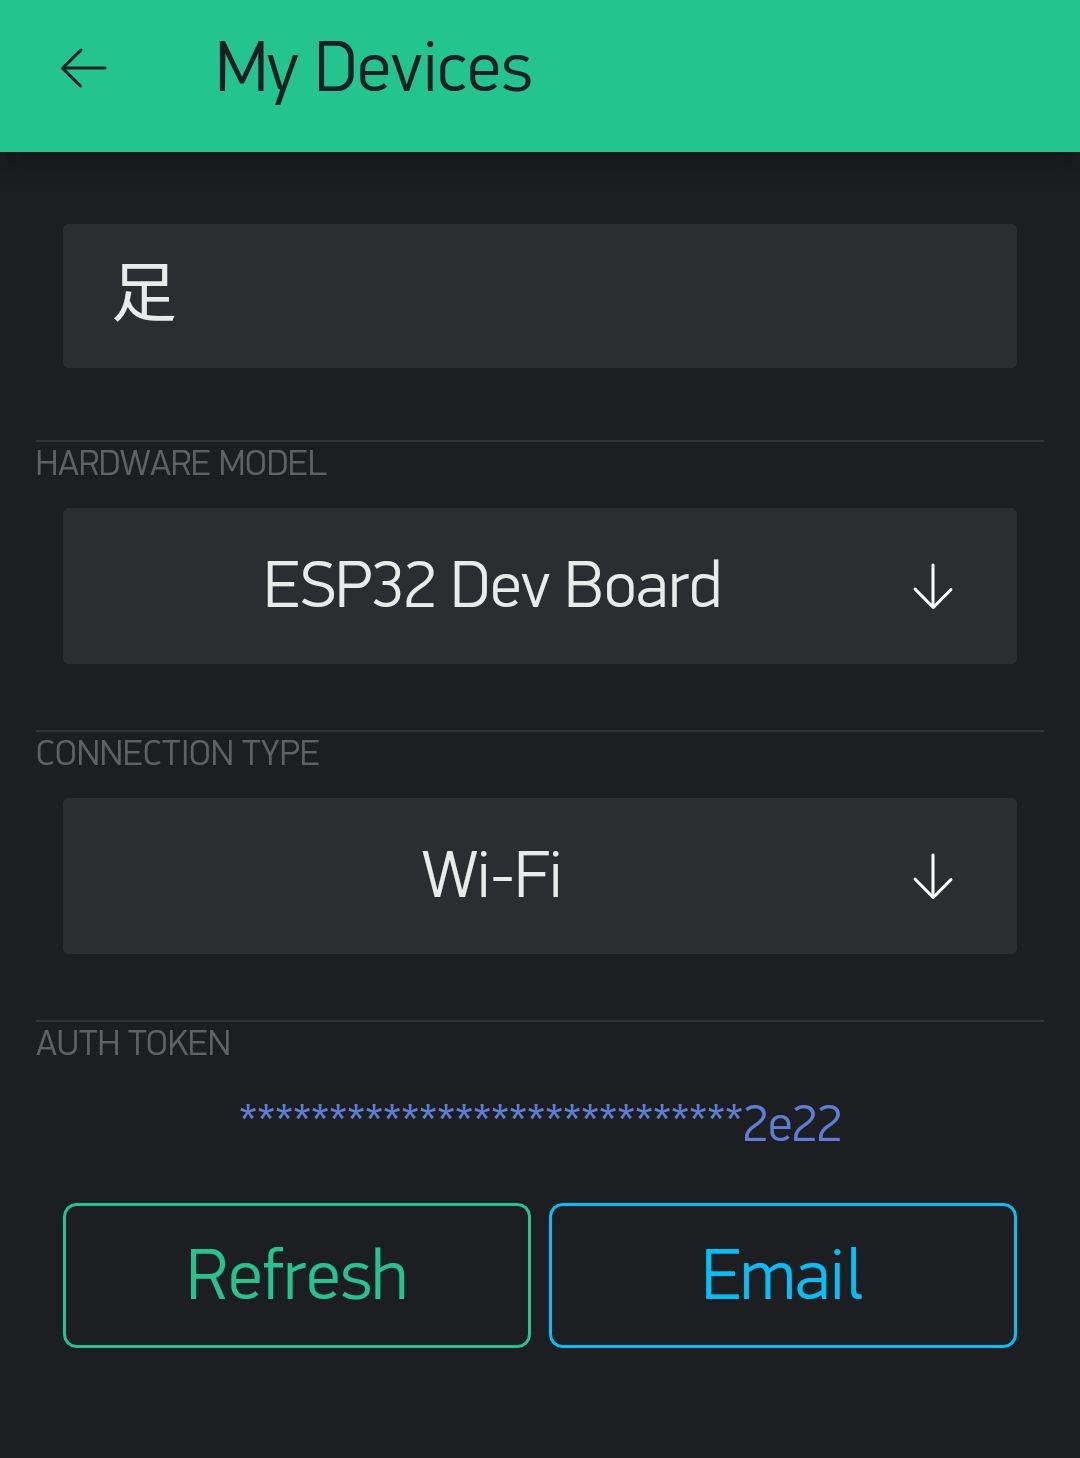
Create a new project HARDWRE MODEL selects ESP32 Dev Board. CONNECTION TYPE select WiFi. AUTH TOKEN is used when generating Arduino code (sent by email).
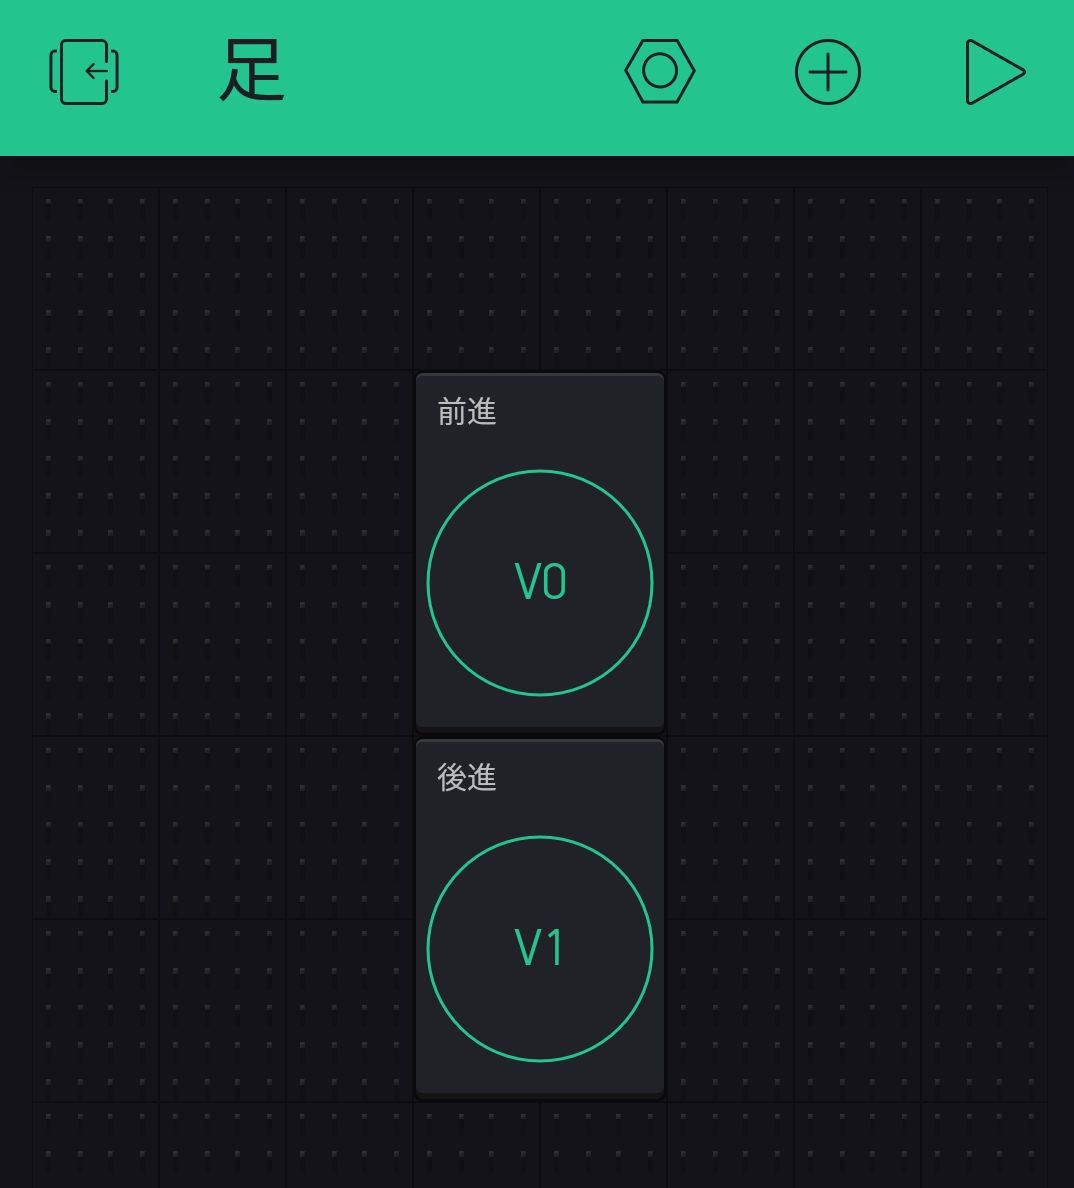
Place two button widgets on the forward/backward button.
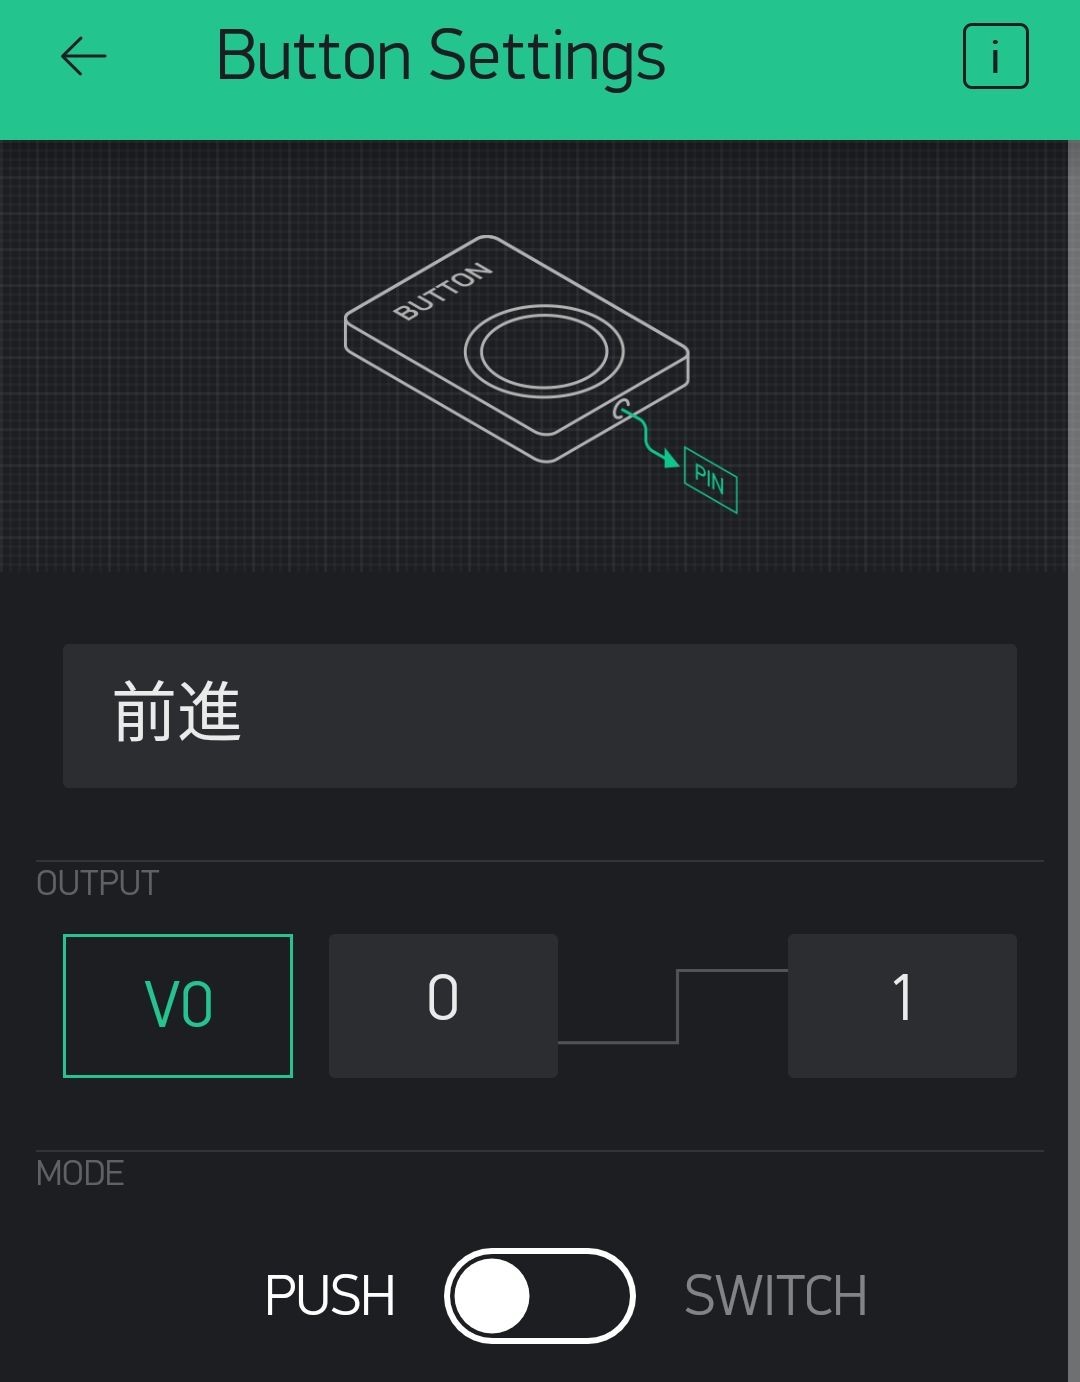
Select the virtual pin V0 in the forward button widget INPUT.
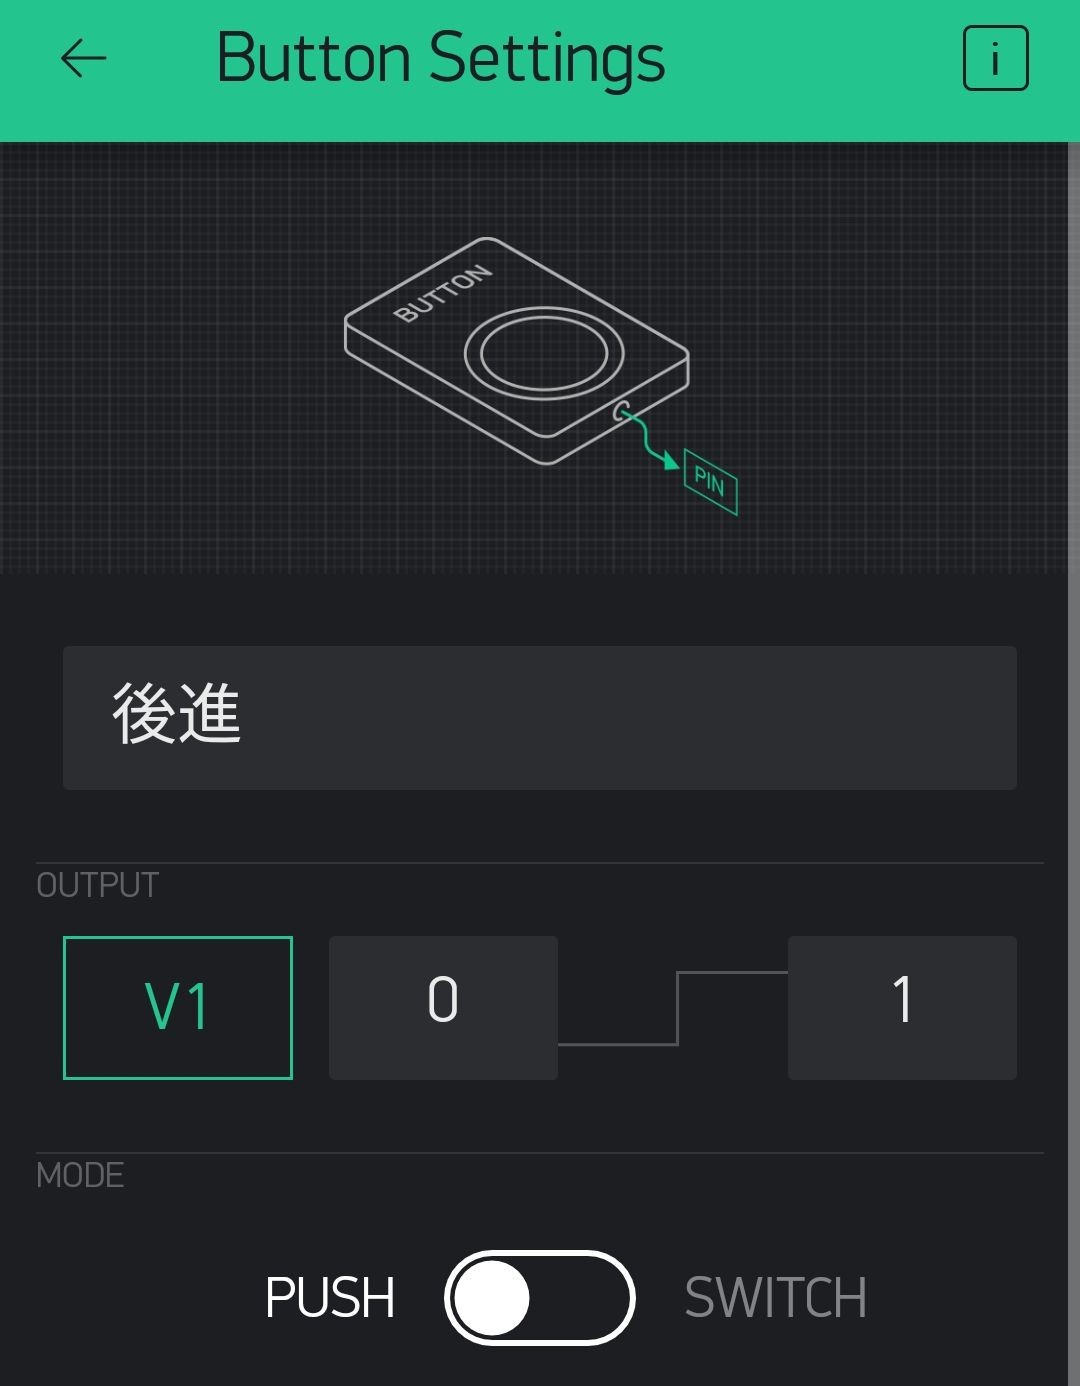
Select the virtual pin V1 as well as the backward button.
Arduino IDE Code
The following program was programmed using Blynk’s library for Arduino. The version is 0.6.1.
https://github.com/blynkkk/blynk-library
Arduino for ESP32 library is version 1.0.0.
I also used the servo motor library ESP32Servo for ESP32.
https://github.com/madhephaestus/ESP32Servo
The Blynk button push is detected to move the servo forward or backward.
|
1 2 3 4 5 6 7 8 9 10 11 12 13 14 15 16 17 18 19 20 21 22 23 24 25 26 27 28 29 30 31 32 33 34 35 36 37 38 39 40 41 42 43 44 45 46 47 48 49 50 51 52 53 54 55 56 57 58 59 60 61 62 63 64 65 66 67 68 69 70 71 72 73 74 75 |
#include <ESP32Servo.h> #define BLYNK_PRINT Serial #include <WiFi.h> #include <WiFiClient.h> #include <BlynkSimpleEsp32.h> // You should get Auth Token in the Blynk App. // Go to the Project Settings (nut icon). char auth[] = "YourAuthToken for Blynk"; // Your WiFi credentials. // Set password to "" for open networks. char ssid[] = "WiFi SSID"; char pass[] = "pass"; Servo myservo1, myservo2; int button1 = 0, button2 = 0; int servoPin1 = 14, servoPin2 = 12; //Forward button detection BLYNK_WRITE(V0) { button1 = param.asInt(); } //Reverse button detection BLYNK_WRITE(V1) { button2 = param.asInt(); } void setup() { Serial.begin(115200); myservo1.setPeriodHertz(50); // standard 50 hz servo myservo2.setPeriodHertz(50); myservo1.attach(servoPin1, 1000, 2000); myservo2.attach(servoPin2, 1000, 2000); Blynk.begin(auth, ssid, pass); } void loop() { Blynk.run(); //Forward if(button1){ myservo2.write(120); delay(200); myservo1.write(180); delay(200); for (int i = 1; i <= 30; i++) { myservo1.write(180 - i * 3); myservo2.write(120 + i * 2); delay(10); } } //Reverse if(button2){ myservo2.write(180); delay(200); myservo1.write(90); delay(200); for (int i = 1; i <= 30; i++) { myservo1.write(90 + i * 2); myservo2.write(180 - i * 2); delay(10); } delay(100); myservo1.write(180); delay(100); } } |
Operation
I could only get a foot out of budget…#ロボット製作 #Blynk pic.twitter.com/rC60Zww9sC
— HomeMadeGarbage (@H0meMadeGarbage) May 23, 2019
Just a small step. I have no idea how long it will take. But someday I want to make it a cool robot.
The following is the completion forecast
 お父ちゃん
2019.5.24
