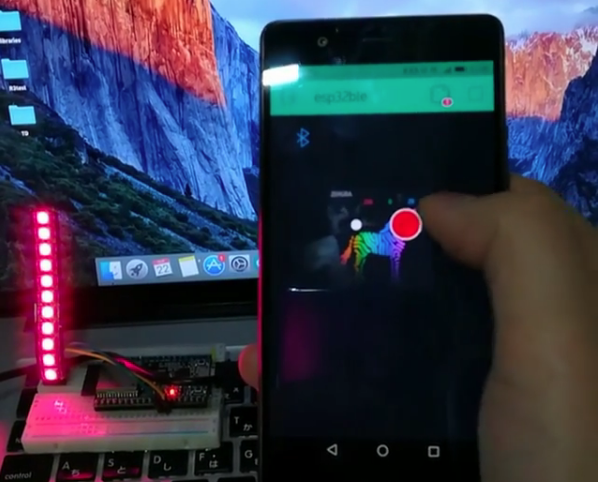
Blynkでダイソー版プラレールコントロール!
本記事にはアフィリエイト広告が含まれます。
- Blynkに関する過去記事はこちら
https://homemadegarbage.com/esp-wroom-blynk - BLEトレインについてはこちら
https://homemadegarbage.com/ble-plarail02
hackster.io内記事
目次
Blynkライブラリ
最新ライブラリは以下にあります。
https://github.com/blynkkk/blynk-library
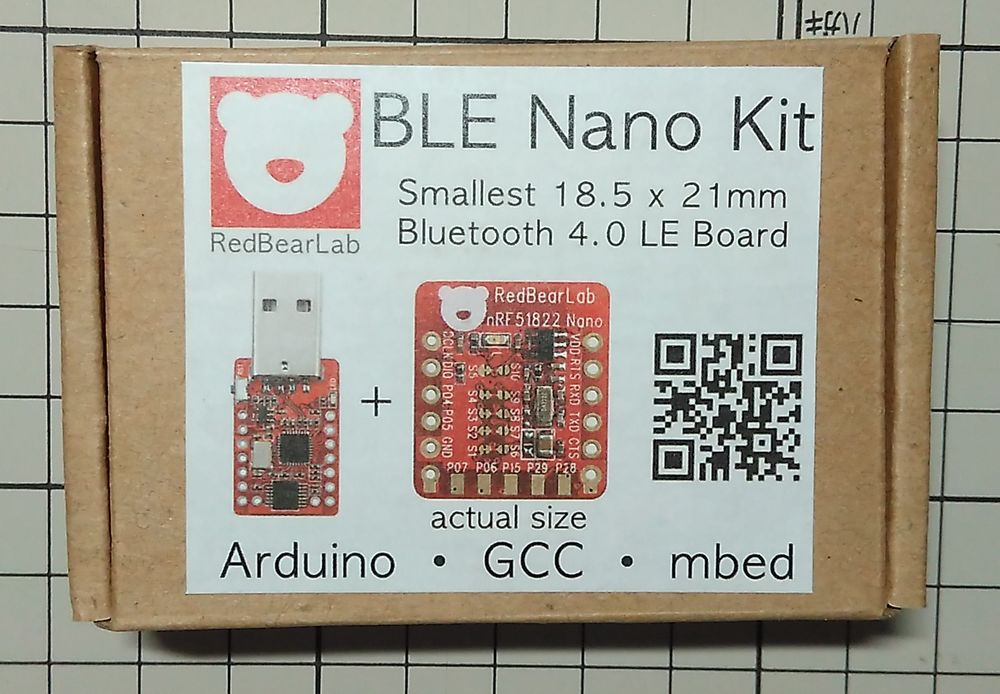
今回はRedbearLabのBLE Nanoを使うので
[スケッチの例] -> [Blynk] -> [Boards_BLE]-> [RedBearLab_BLE_Nano]を参考にコード生成しました。
BLE Nano設定
- [cores]
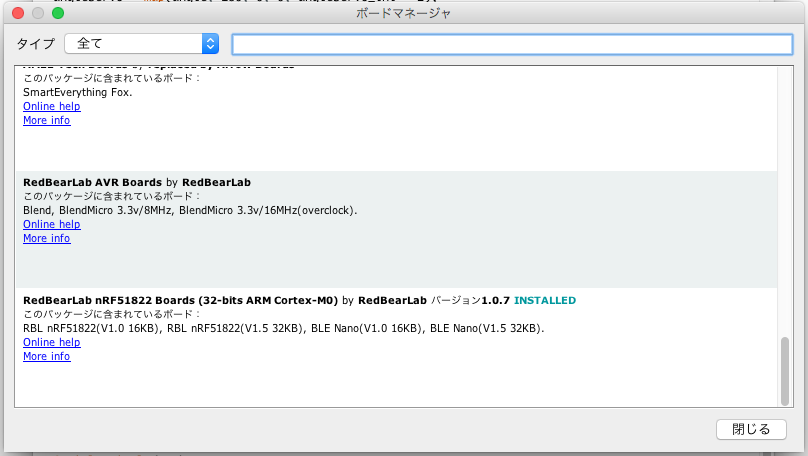
- boards.txt
をPC内のボードプラットフォーム1.0.5(例えばC:\hogehoge\Arduino15\packages\RedBearLab\hardware\nRF51822\1.0.5 )に上書きします。これでなんとかBlynk BLEライブラリが使えるようになります!
Blynk設定
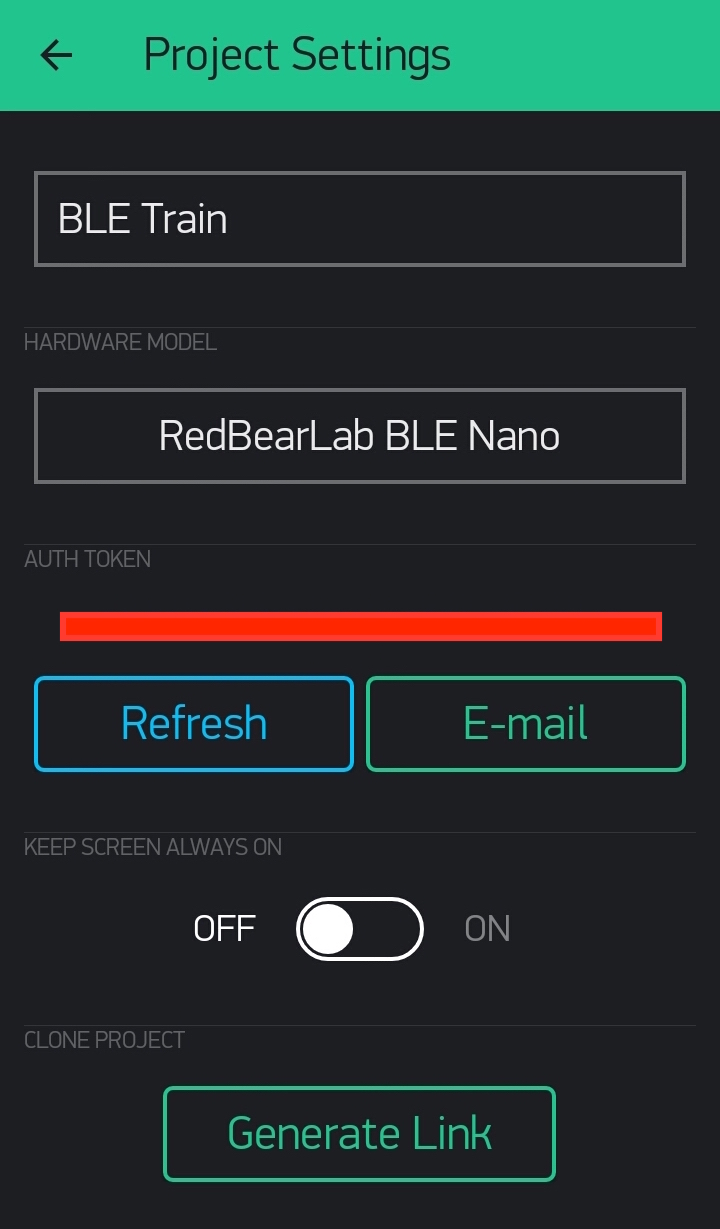
新規プロジェクトを作成します。ハードウェアでBLE Nanoを選択し、
AUTH TOKENはArduinoコード生成時に使用しますので控えときます(もしくはメール送信します)。
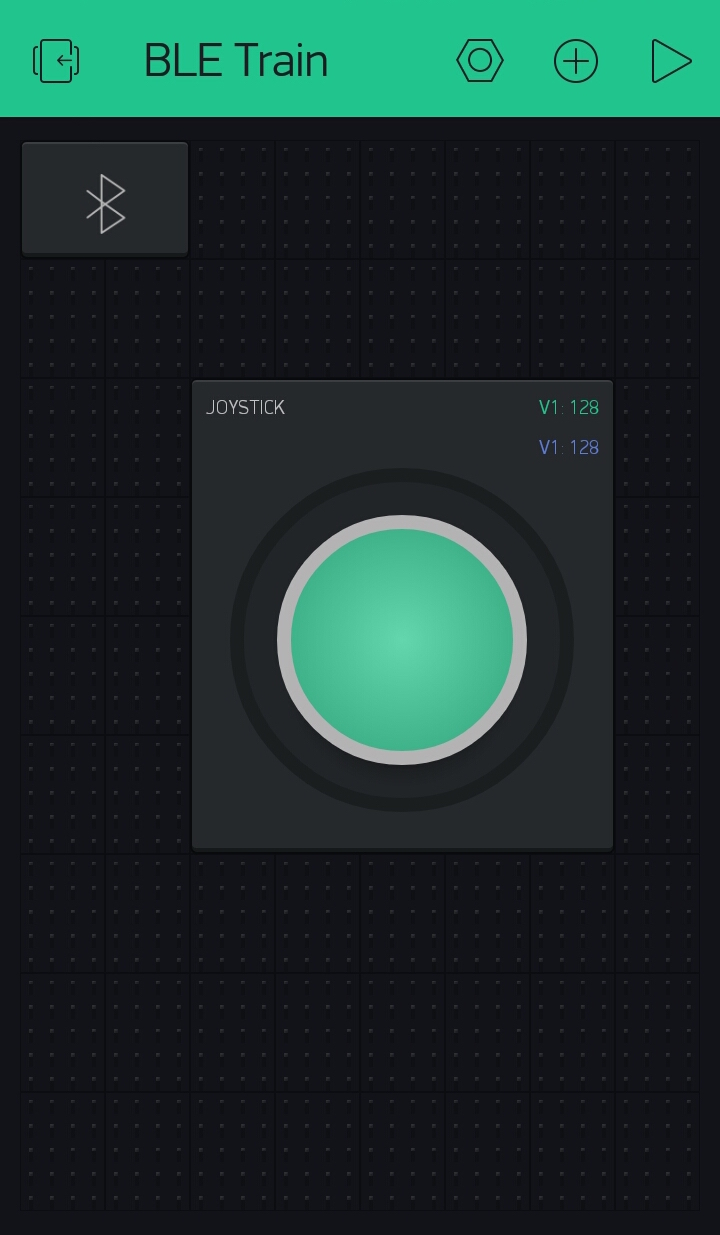
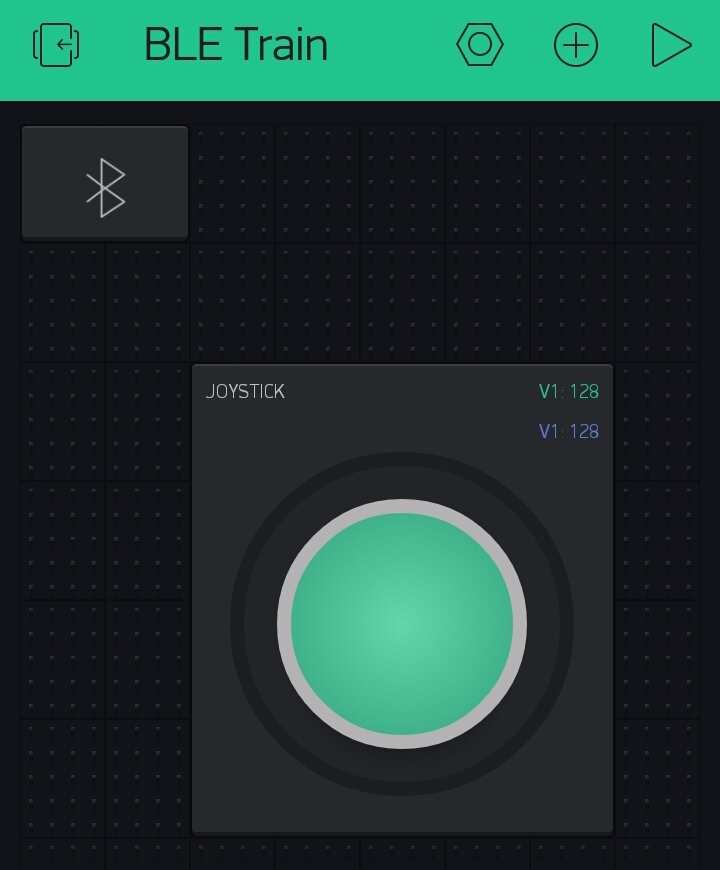
ウィジェットとしてBLEとジョイスティックを配置します。
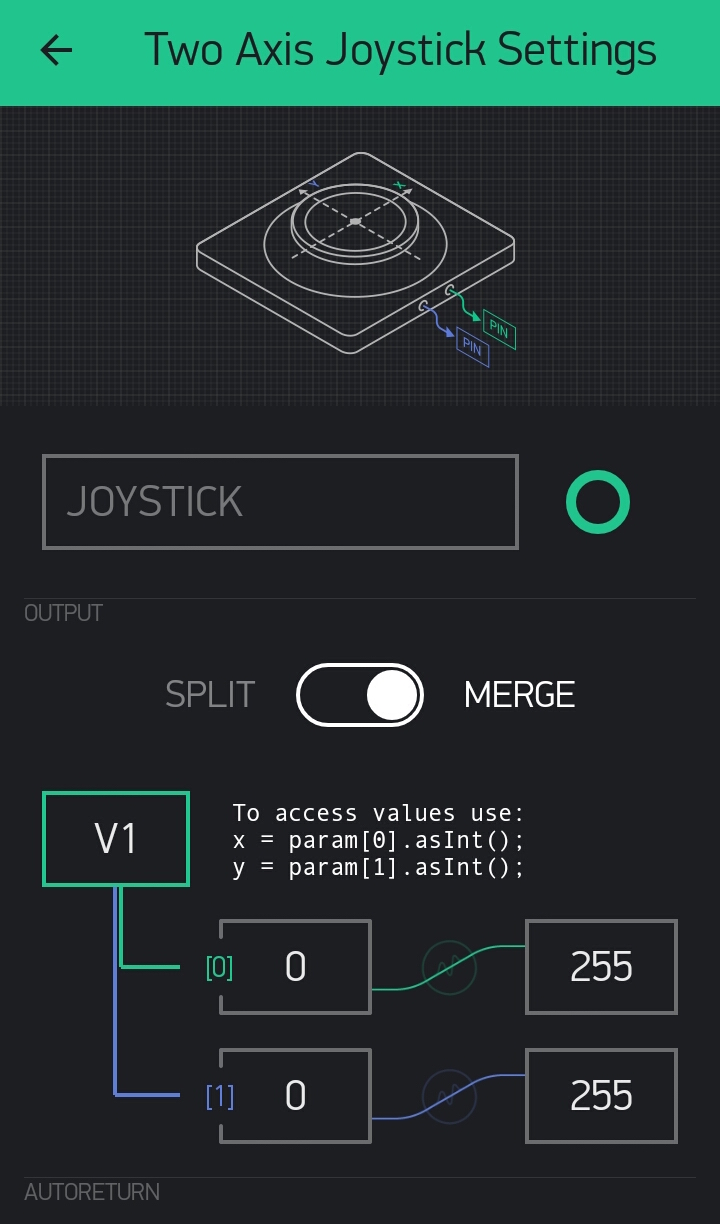
ジョイスティックの設定はこんな感じでヴァーチャルピンV1に2軸の数値を出力します。
Arduino IDE
[スケッチの例] -> [Blynk] -> [Boards_BLE]-> [RedBearLab_BLE_Nano]を参考にコード生成しました。
|
1 2 3 4 5 6 7 8 9 10 11 12 13 14 15 16 17 18 19 20 21 22 23 24 25 26 27 28 29 30 31 32 33 34 35 36 37 38 39 40 41 42 43 44 45 46 47 48 49 50 51 52 53 54 55 56 57 58 59 60 61 62 63 64 65 66 67 68 69 70 71 72 73 74 75 76 77 78 79 80 81 82 83 84 85 86 87 88 89 90 91 92 93 94 95 96 97 98 99 100 101 102 103 104 105 106 107 108 109 110 111 112 113 114 115 116 117 118 119 120 121 |
#define BLYNK_PRINT Serial #include <BlynkSimpleRedBearLab_BLE_Nano.h> #include <BLE_API.h> #include <Wire.h> #include <Servo.h> Servo myservo; const int DRV8830 = 0x64; int power = 0; float angle = 0; int rot = 0; int Speed = 0; int angleServo_ini = 35; int angleServo = angleServo_ini; // You should get Auth Token in the Blynk App. char auth[] = "YourAuthTokenを入力"; uint8_t device_name[] = "Blynk"; //モータドライバ I2C制御 motor driver I2C //Reference //http://makers-with-myson.blog.so-net.ne.jp/2014-05-15 void writeMotorResister(byte vset, byte data1){ int vdata = vset << 2 | data1; Wire.beginTransmission(DRV8830); Wire.write(0x00); Wire.write(vdata); Wire.endTransmission(true); } void setup() { Wire.begin(D3, D2, 400000L); Serial.begin(250000); writeMotorResister(0x00, 0x00); myservo.attach(D4); myservo.write(angleServo); delay(100); ble.init(); ble.gap().accumulateAdvertisingPayload(GapAdvertisingData::BREDR_NOT_SUPPORTED); ble.gap().accumulateAdvertisingPayload(GapAdvertisingData::SHORTENED_LOCAL_NAME, device_name, sizeof(device_name) - 1); ble.gap().setDeviceName(device_name); ble.gap().setTxPower(4); // Add Blynk service... Blynk.begin(auth); ble.gap().setAdvertisingType(GapAdvertisingParams::ADV_CONNECTABLE_UNDIRECTED); ble.gap().setAdvertisingInterval(Gap::MSEC_TO_GAP_DURATION_UNITS(1000)); ble.gap().setAdvertisingTimeout(0); ble.startAdvertising(); Serial.println("Waiting for connections..."); } //ジョイスティック値受信 BLYNK_WRITE(V1) { float x = param[0].asInt() - 128.0; float y = param[1].asInt() - 128.0; //モータスピード power = sqrt(x*x + y*y); if(power > 128){ power = 128; } Speed = map(power, 0, 128, 5, 19); //サーボ角度 angle = atan(y/x) * 180.0 / PI; if(x < 0 && y > 0){ angle = angle * -1; }else if(x > 0 && y >= 0){ angle = 180.0 - angle; }else if(x >= 0 && y < 0){ angle = 180.0 + angle; }else if(x == 0 && y == 0 || power >= 0 && power < 57){ angle = 90; } angleServo = map(angle, 180, 0, 0, angleServo_ini * 2); //モータ回転方向 if(y >= 0){ rot = 2; //前進 } else { rot = 1; //後進 } //モーター、サーボ実行 if (power == 0){ writeMotorResister(0x00, 0x00); }else { writeMotorResister((byte)Speed, (byte)rot); } myservo.write(angleServo); //delay(15); Serial.print("x: "); Serial.print(x); Serial.print(" y: "); Serial.print(y); Serial.print(" power: "); Serial.print(power); Serial.print(" Speed: "); Serial.print(Speed); Serial.print(" angleServo: "); Serial.print(angleServo); Serial.print(" rot: "); Serial.println(rot); } void loop() { Blynk.run(); } |
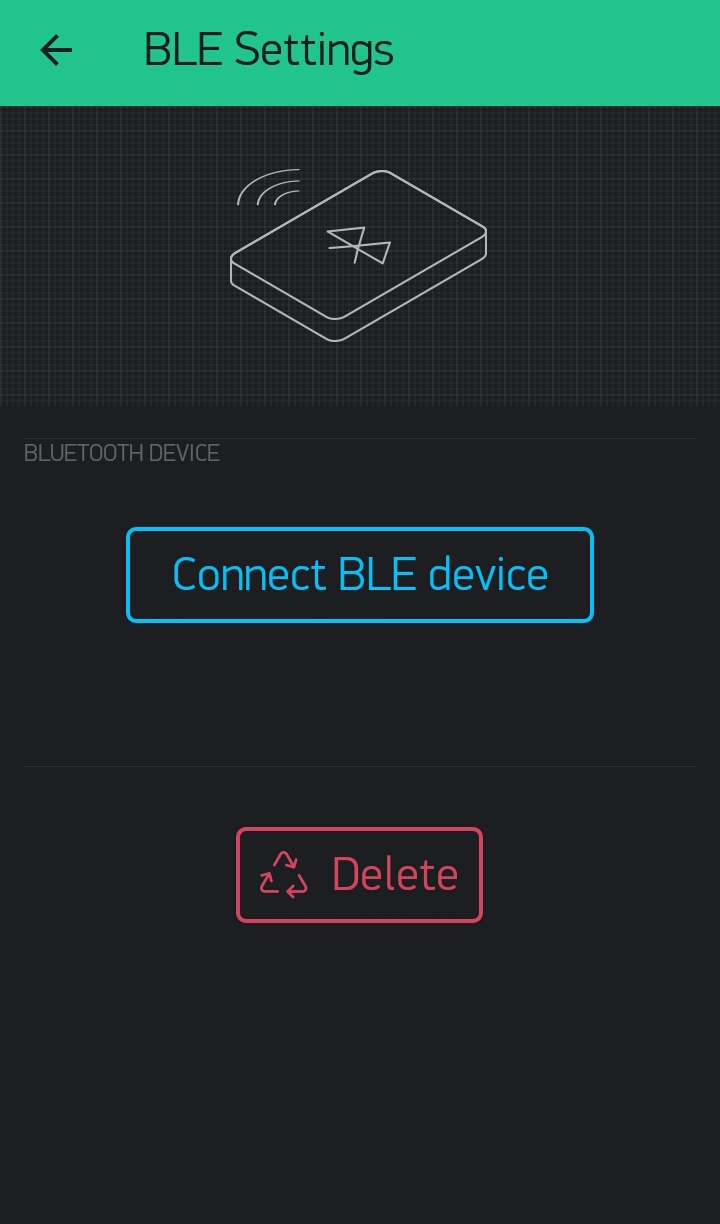
Blynk BLE接続
BlynkプロジェクトのBLEウェジットをクリックして設定します。
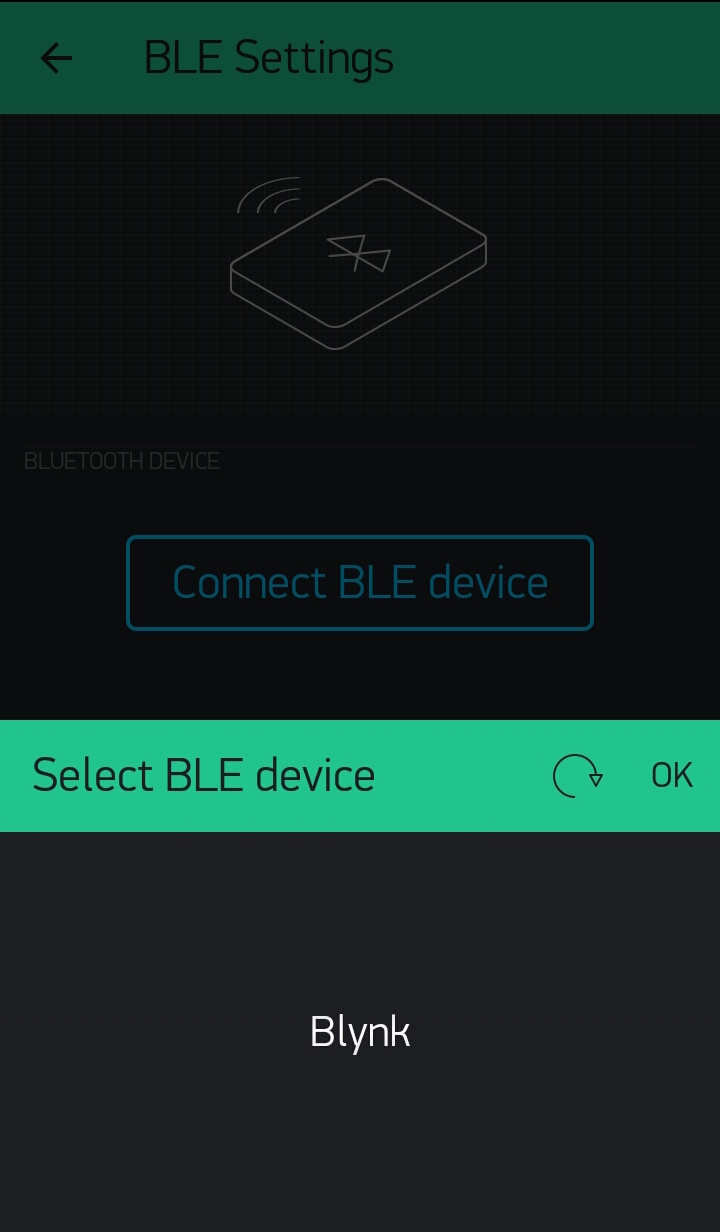
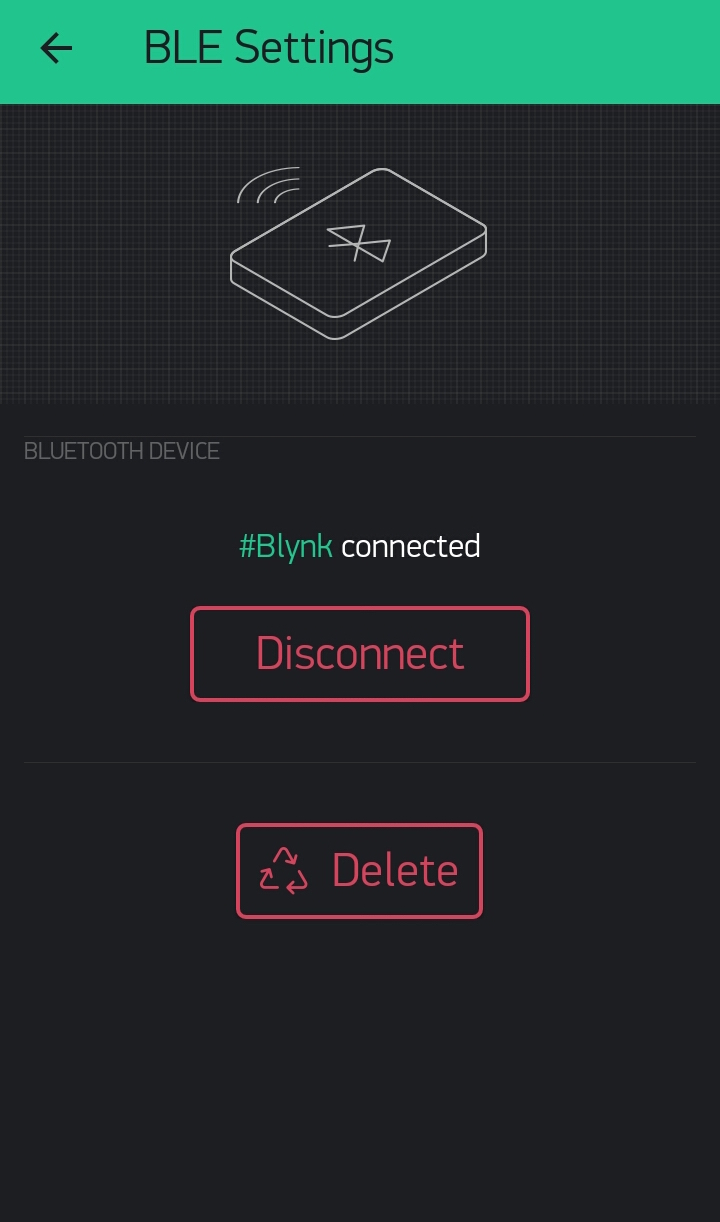
“Connect BLE device”をクリックして Arduino IDE上で設定したデバイス名である”Blynk”が表示されたらOKをクリックして接続する。
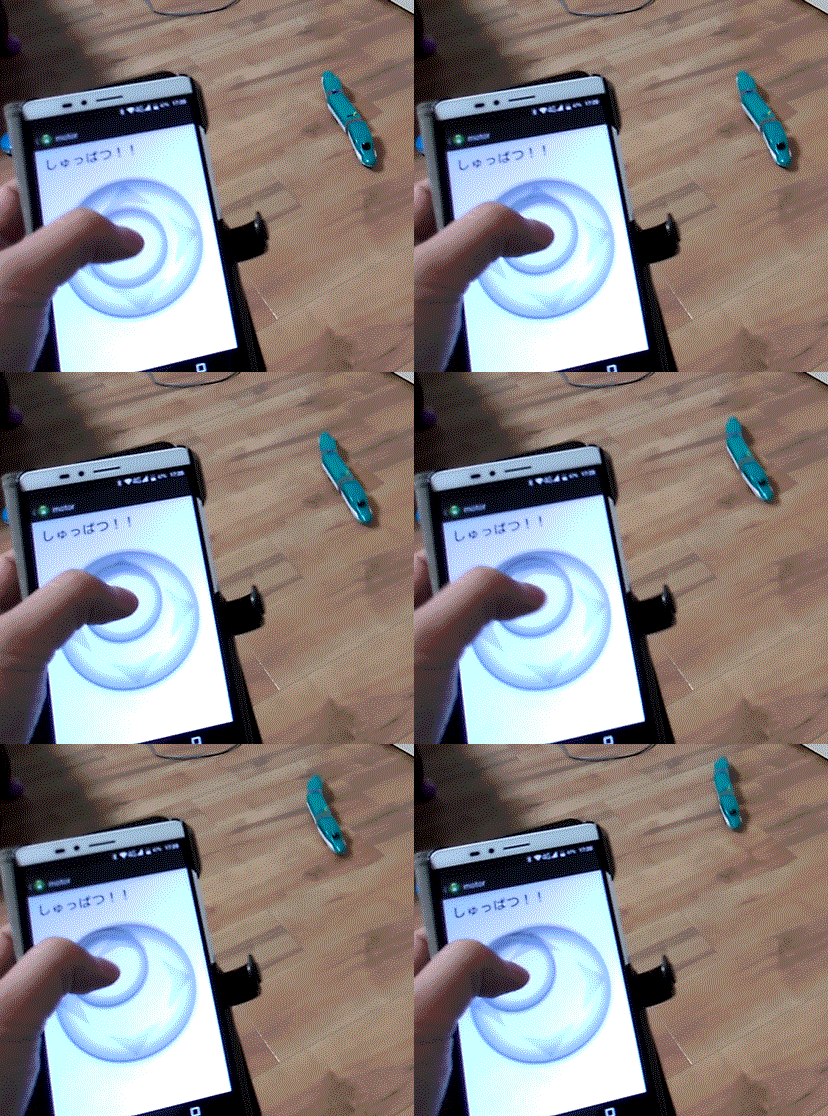
動作
View this post on Instagramダイソーのプラレール改造 #blynk #ble #ダイソー #プラレール https://homemadegarbage.com/blynk-ble-train01
簡単にできた!
これでWiFiモジュールもBLEモジュールも簡単にスマホと通信できる!
今までAndroid用にコード書くのにメチャメチャ時間取られてたのでコレは非常に便利です♫
 お父ちゃん
2016.8.25
