Bleedin’ earring
本記事にはアフィリエイト広告が含まれます。
Twitterにて面白い作品を見つけました。
Wasn’t sure if this idea was gonna work, had to build the whole thing first. It’s OK! Gonna paint the LED strips next to better conceal them. Tutorial real soon I guess! #ElectronicHalloween #NeoPixels #Dragon @adafruit pic.twitter.com/EttdUXeMJn
— That Dragon Guy (@PaintYourDragon) October 22, 2019
線上のLEDで血の流れを表現して、さらに床にLEDを配置して地面ポタッをも表現しています。
製法の詳細は以下に記載がございます。

これを参考にイヤリングを製作してみましたので報告いたします。
目次
構成

部品
- マイコン Adafruit Trinket M0
- テープLED
手元に狭ピッチのテープLEDがRGBWしかなかったので使用しました。
普通のRGBや単色LEDでも問題ありません。
-
赤色レーザー発光モジュール(薄型)
- LiPoバッテリ 110mAh

動作
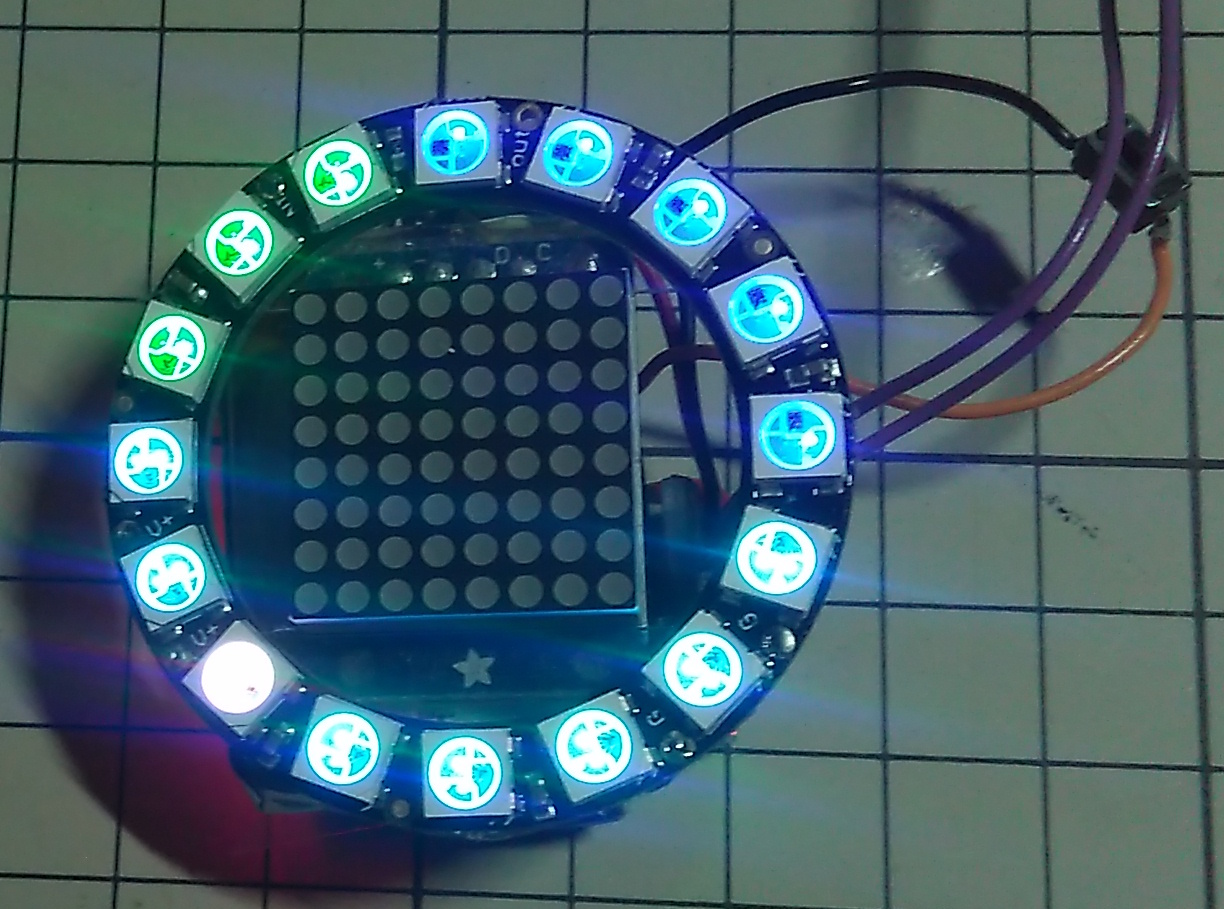
滴りをテープLEDで実現しました。
そして地面ポタッをレーザで表現してみました。これによってポタッ地点の自由度が増します。
bleeding earring#neopixel pic.twitter.com/emBNQlnbHv
— HomeMadeGarbage (@H0meMadeGarbage) January 24, 2020
Bleedin’ earring
レーザはマイコンAdafruit Trinket M0のGPIOで直接駆動しています。意外といけました。

電源にはLiPoバッテリを使用。

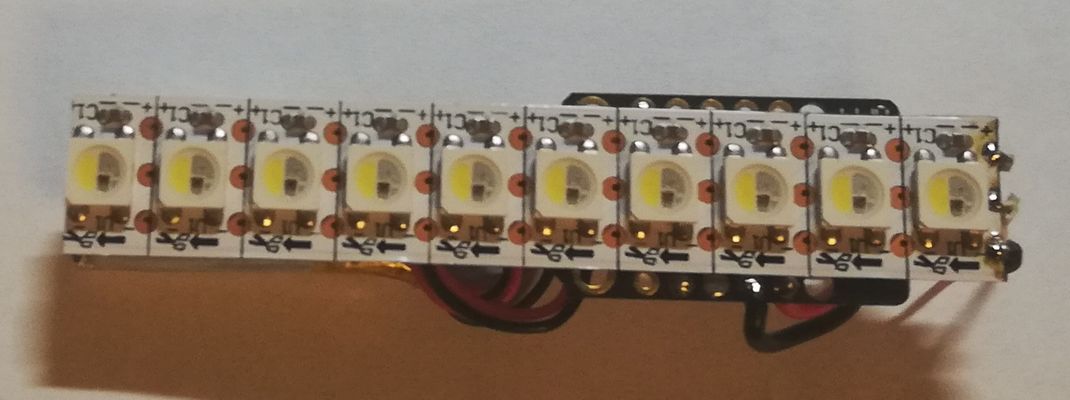
10セルのテープLEDを使用。
Arduinoコード
本家は重力加速度なども加味して滴りのリアルさを追求しておりますが、
ここでは簡単のためdelay時間で等加速度運動を表現しています。
滴りタイミングは乱数で0.5~3.0 secでバラつかせています。
|
1 2 3 4 5 6 7 8 9 10 11 12 13 14 15 16 17 18 19 20 21 22 23 24 25 26 27 28 29 30 31 32 33 34 35 36 37 38 39 40 41 42 43 44 45 46 47 48 49 50 51 52 53 54 55 56 57 |
#include <Adafruit_NeoPixel.h> #ifdef __AVR__ #include <avr/power.h> // Required for 16 MHz Adafruit Trinket #endif // Which pin on the Arduino is connected to the NeoPixels? // On a Trinket or Gemma we suggest changing this to 1: #define LED_PIN 3 // How many NeoPixels are attached to the Arduino? #define LED_COUNT 10 // Declare our NeoPixel strip object: Adafruit_NeoPixel strip(LED_COUNT, LED_PIN, NEO_GRBW + NEO_KHZ800); int LD = 4; // setup() function -- runs once at startup -------------------------------- void setup() { // These lines are specifically to support the Adafruit Trinket 5V 16 MHz. // Any other board, you can remove this part (but no harm leaving it): #if defined(__AVR_ATtiny85__) && (F_CPU == 16000000) clock_prescale_set(clock_div_1); #endif // END of Trinket-specific code. pinMode(LD, OUTPUT); digitalWrite(LD, LOW); strip.begin(); // INITIALIZE NeoPixel strip object (REQUIRED) strip.show(); // Turn OFF all pixels ASAP strip.setBrightness(7); // Set BRIGHTNESS to about 1/5 (max = 255) } // loop() function -- runs repeatedly as long as board is on --------------- void loop() { for(int i=0; i<LED_COUNT; i++) { // For each pixel... strip.setPixelColor(i, strip.Color(255, 0, 0)); strip.show(); // Send the updated pixel colors to the hardware. delay(100 - 9 * i); } for(int i=0; i<LED_COUNT; i++) { delay(13); strip.setPixelColor(i, strip.Color(0, 0, 0)); strip.show(); // Send the updated pixel colors to the hardware. } digitalWrite(LD, HIGH); delay(100); digitalWrite(LD, LOW); delay(random(500, 3000)); } |