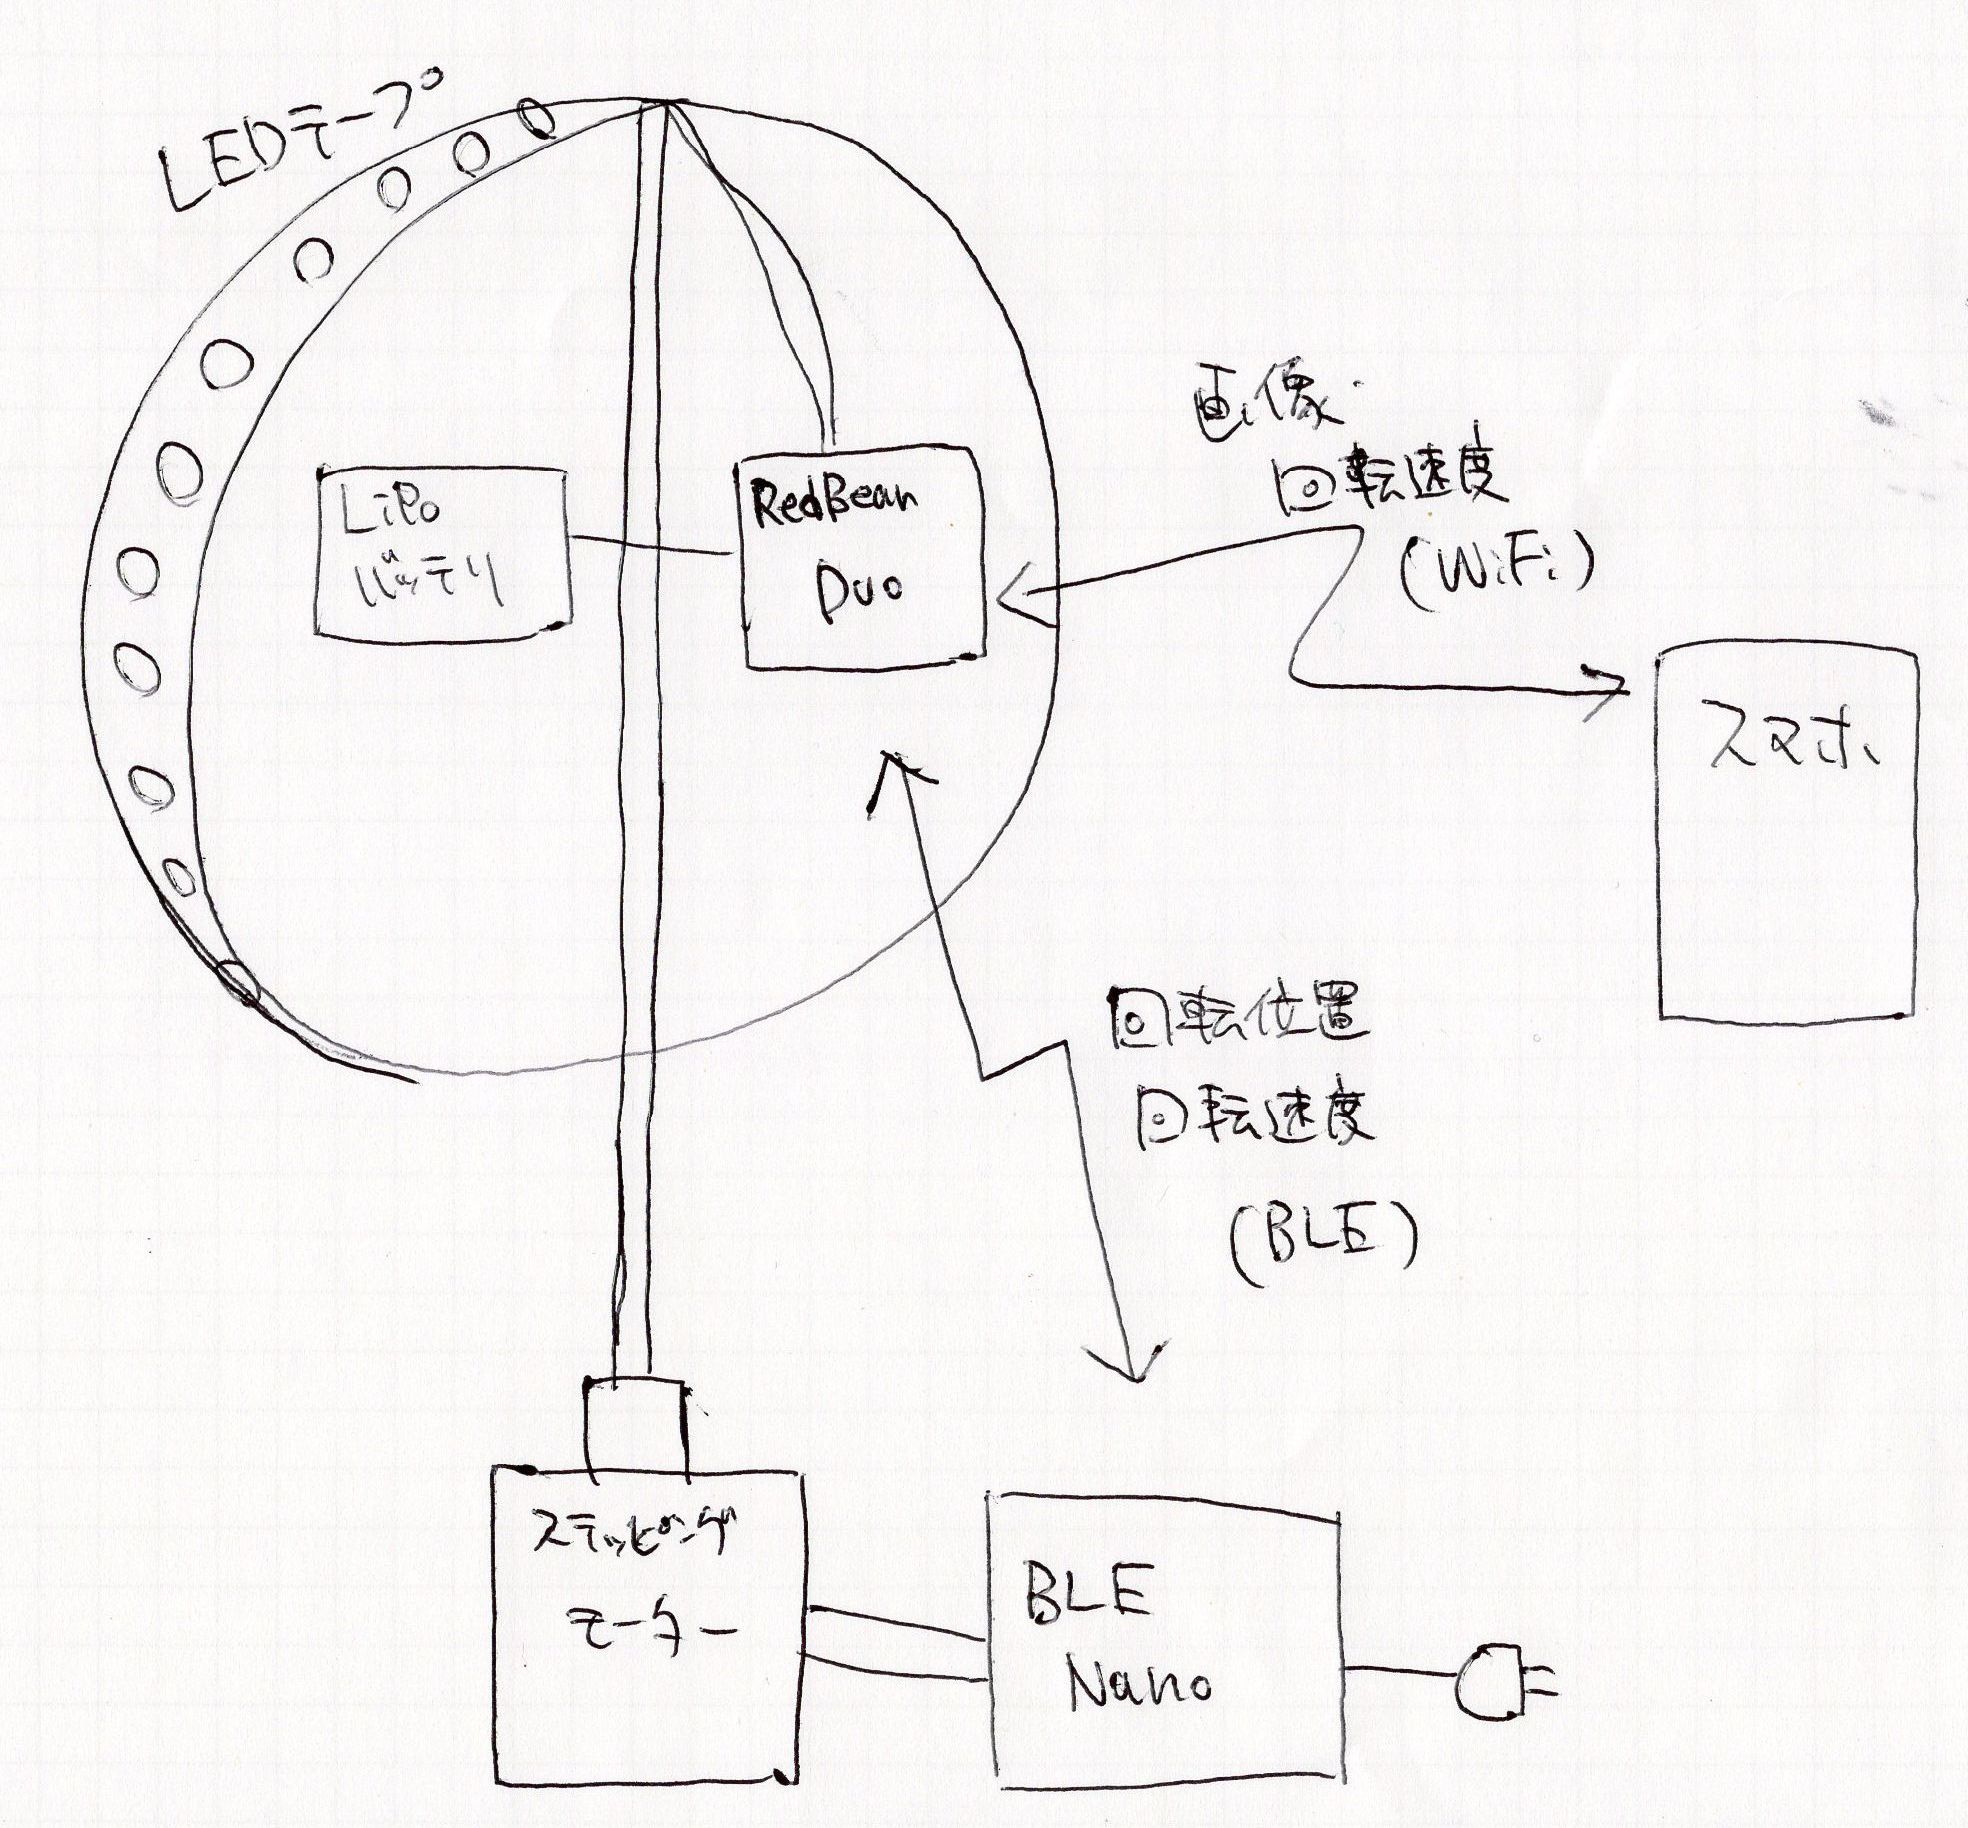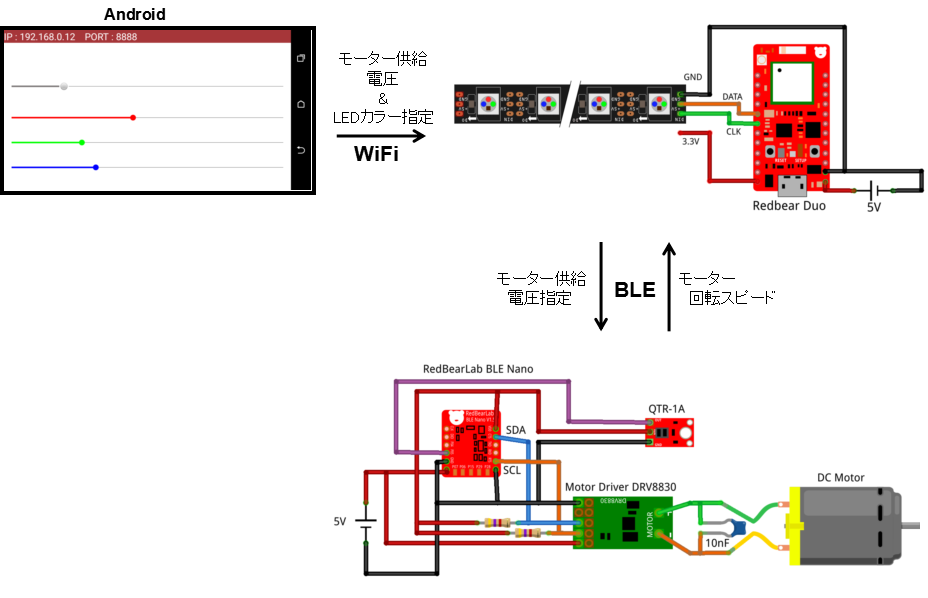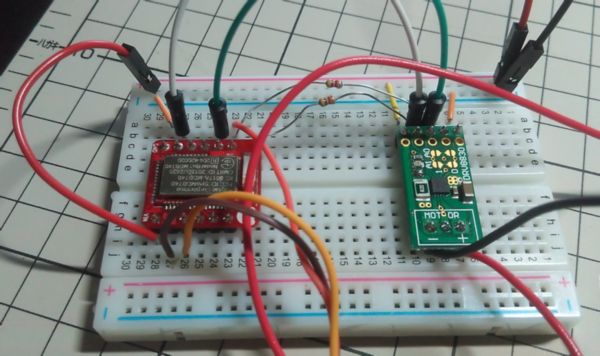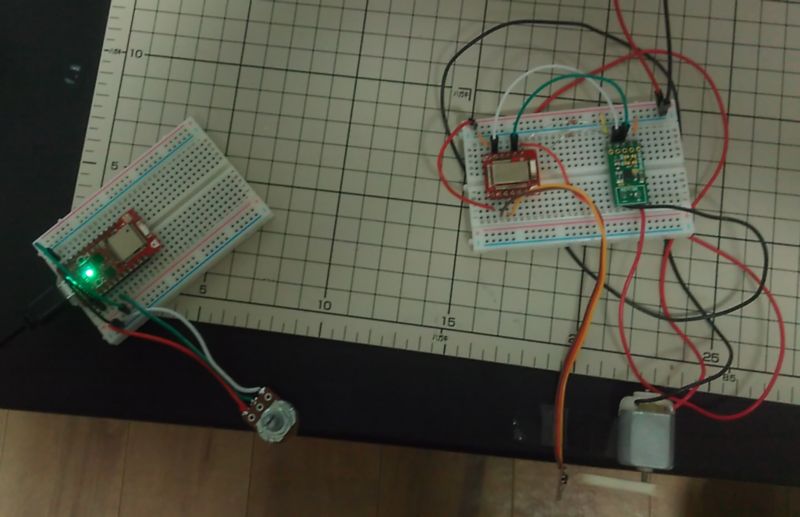
Redbear DuoでDotstarを制御 -球体POV製作への道 その5-
本記事にはアフィリエイト広告が含まれます。
ステップ3:Redbear DuoでLEDテープ(Dotstar)を制御
です。新しいコアモジュールでこの手のLEDをコントロールする際は毎度手こずります。。。
目次
DotStarとは
Adafruit製の高速点滅LEDテープです。
公式記事
購入先
国内で買えないので$75+輸送費$60でかなり高くついた。。。(´Д⊂グスン
NeoPixelと比較
いつも使ってるLEDテープNeoPixelとの違い。()内がNeoPixel
- LEDリフレッシュレート:19.2 KHz (400 Hz)
- データ書き込み方式:2線式[CLK, DATA] SPI ~8 MHz (独自1線式 800 KHz)
以上のように表示レート、書き込み速度ともにDotstarのほうが高速でPOV向きと言えます。
DotstarのArduino用ライブラリは以下にあります。
https://github.com/adafruit/Adafruit_DotStar
ですが、SPIライブラリが存在しないため残念ながらRedbear Duoでは使えません。。
技術掲示板によるとParticle Web IDE上にRedbear Duo用SPIライブラリありそうとのこと。。。
Particle Web IDEとは
SparkFun製のWiFi内蔵マイコンParticle Photon向けのWeb上のIDEです(mbedみたいなやつ)。Redbear DuoはArduinoの他にこのParticle IDEも使えるのです。
Particle Dotstarライブラリ->Arduino移植
mbedもそうなのですがどうもweb上のIDEって親しみがもてず管理もめんどいので今回はParticle上のDotstarライブラリをArduinoに移植しました。
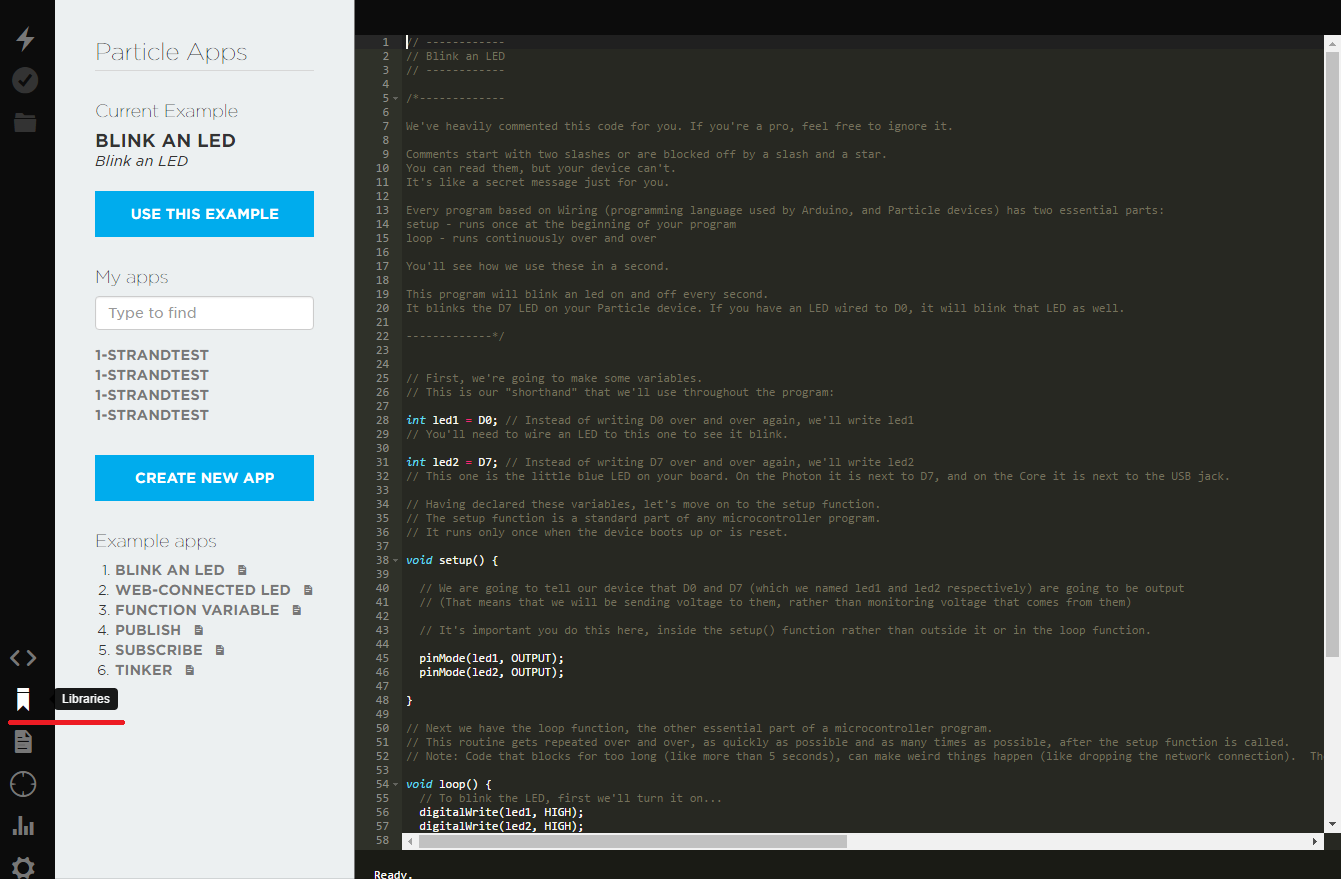
- https://build.particle.ioにアクセスしてアカウント作成。
- Libraryをクリック。
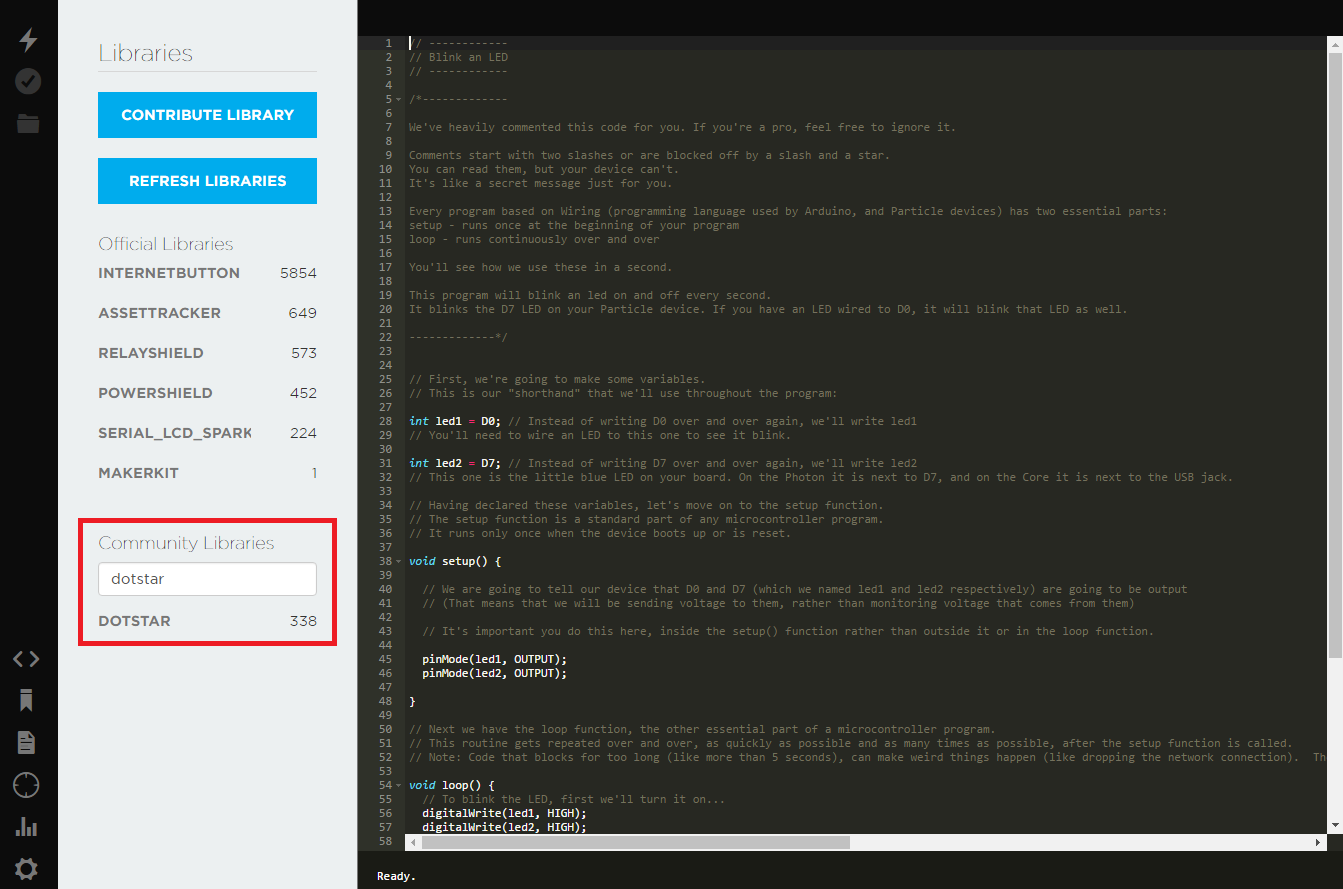
- Community Librariesに”dotstar”と記載 ライブラリ検索してDOTSTAR選択。
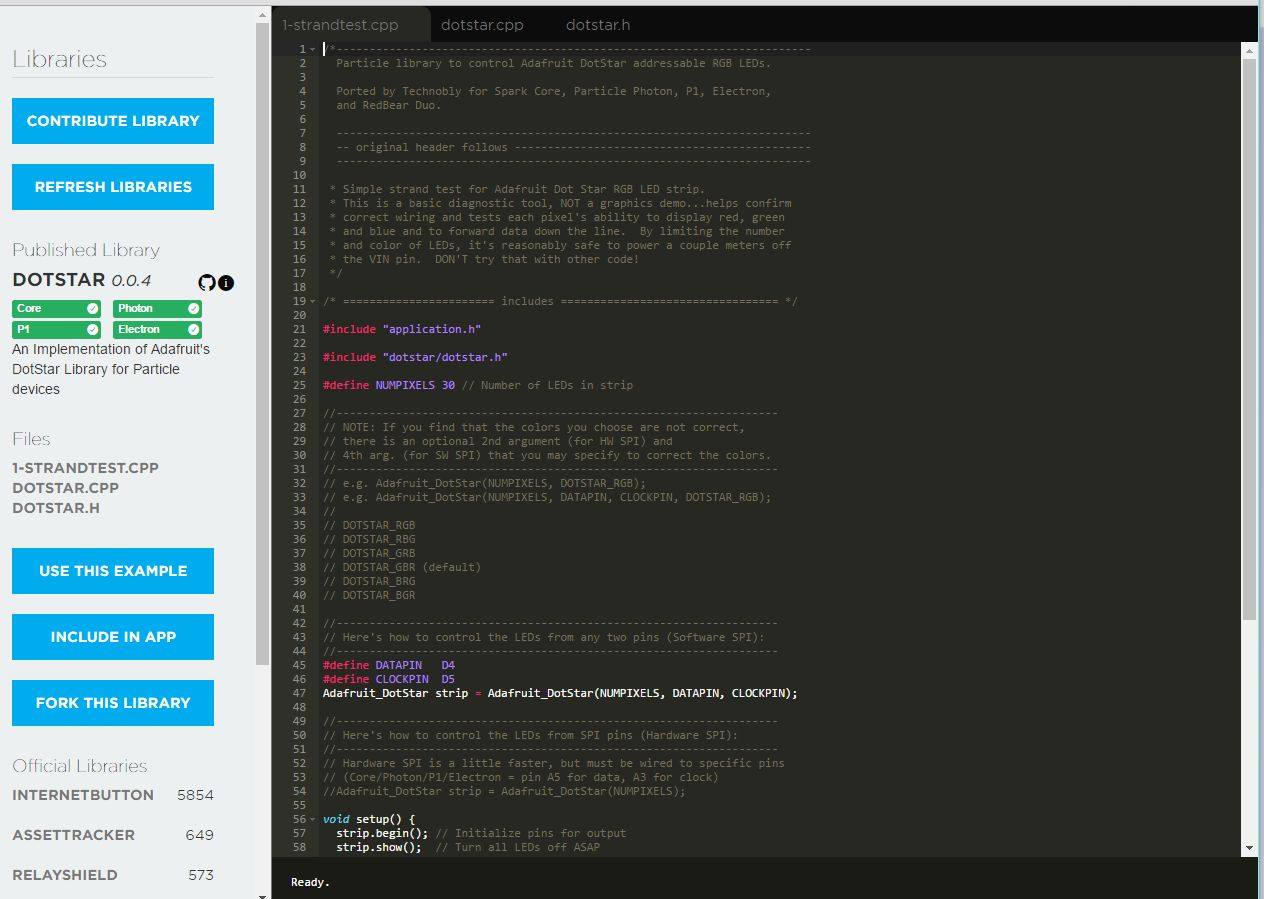
- 1-strandtest.cppをコピーしてhogehoge.inoとして保存。dotstar.cppとdotstar.hは任意の場所(もしくはhogehoge.inoと同じフォルダ)に保存。
以上でRedbear DuoでもDotstarが使えるようになります。
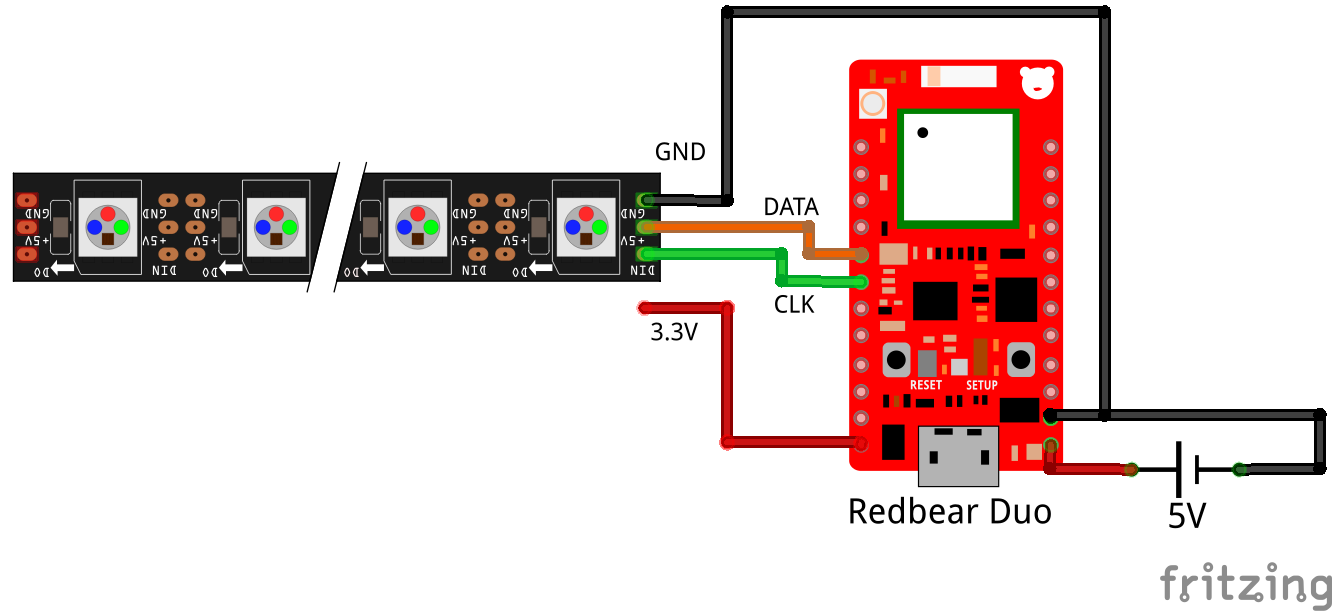
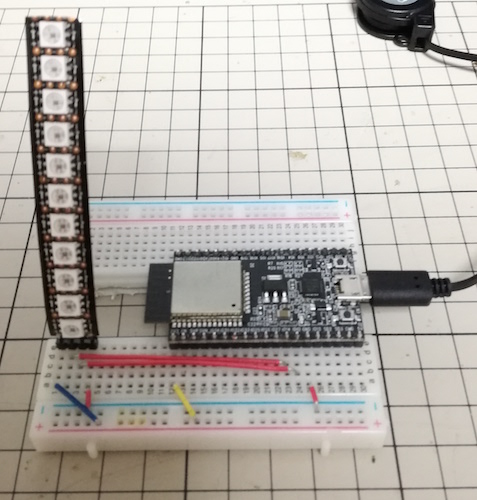
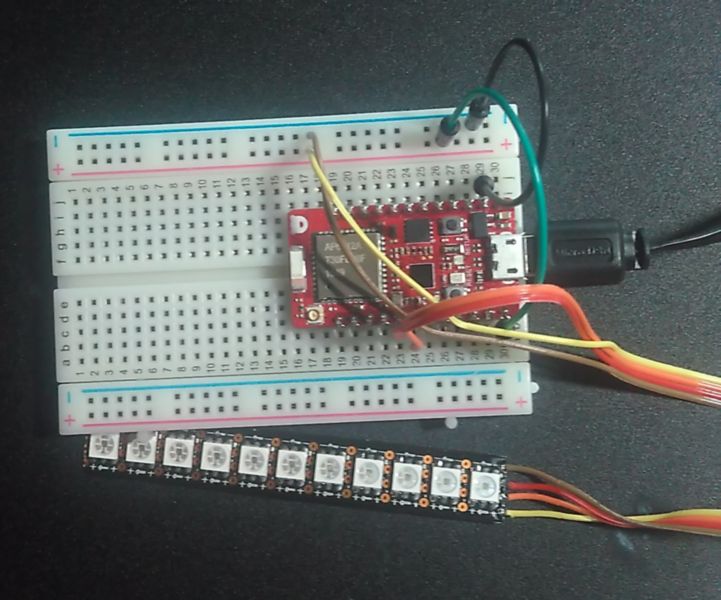
全体動作
無事点滅!
Arduino IDE用コード
1-strandtest.cppをベースに生成
|
1 2 3 4 5 6 7 8 9 10 11 12 13 14 15 16 17 18 19 20 21 22 23 24 25 26 27 28 29 30 31 32 33 34 35 36 |
#include "application.h" #include "dotstar.h" #define NUMPIXELS 11 // Number of LEDs in strip #define DATAPIN D4 #define CLOCKPIN D5 Adafruit_DotStar strip = Adafruit_DotStar(NUMPIXELS, DATAPIN, CLOCKPIN, DOTSTAR_BGR); void setup() { strip.begin(); // Initialize pins for output strip.setBrightness(50); //輝度設定 strip.show(); // Turn all LEDs off ASAP } // Runs 10 LEDs at a time along strip, cycling through red, green and blue. // This requires about 200 mA for all the 'on' pixels + 1 mA per 'off' pixel. int head = 0, tail = -10; // Index of first 'on' and 'off' pixels uint32_t color = 0xFF0000; // 'On' color (starts red) uint32_t whiteColor = strip.Color(30, 30, 30); void loop() { strip.setPixelColor(head, color); // 'On' pixel at head strip.setPixelColor(tail, 0); // 'Off' pixel at tail strip.show(); // Refresh strip delay(20); // Pause 20 milliseconds (~50 FPS) if(++head >= NUMPIXELS) { // Increment head index. Off end of strip? head = 0; // Yes, reset head index to start if((color >>= 8) == 0) // Next color (R->G->B) ... past blue now? color = 0xFF0000; // Yes, reset to red } if(++tail >= NUMPIXELS) tail = 0; // Increment, reset tail index } |
まとめ
よしあとはRedbear DuoのWiFi動作が確認できればほぼ基本確認は終了!
以下直近の実施予定項目です。
- ステップ4:スマホ – Redbear Duo でLED色・回転速度WiFi制御
- ステップ5:POV基本動作確認
次の記事
BLE Nano – Redbear Duo間通信でモータ&LED制御 w/ Android -球体POV製作への道 その6-
 お父ちゃん
2016.8.8
