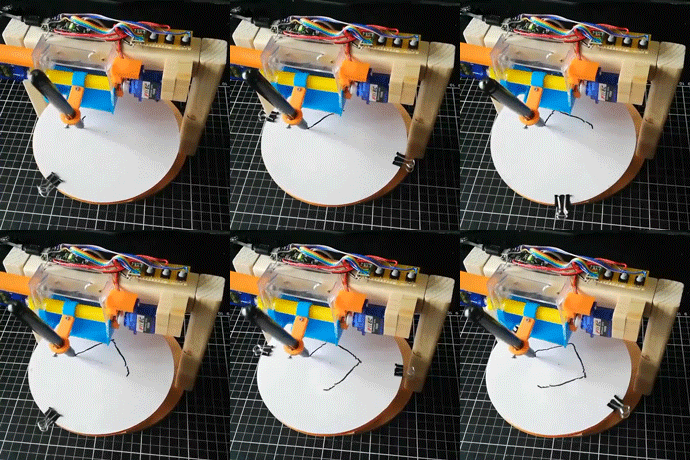
HuskyLens でお絵描き実験
本記事にはアフィリエイト広告が含まれます。
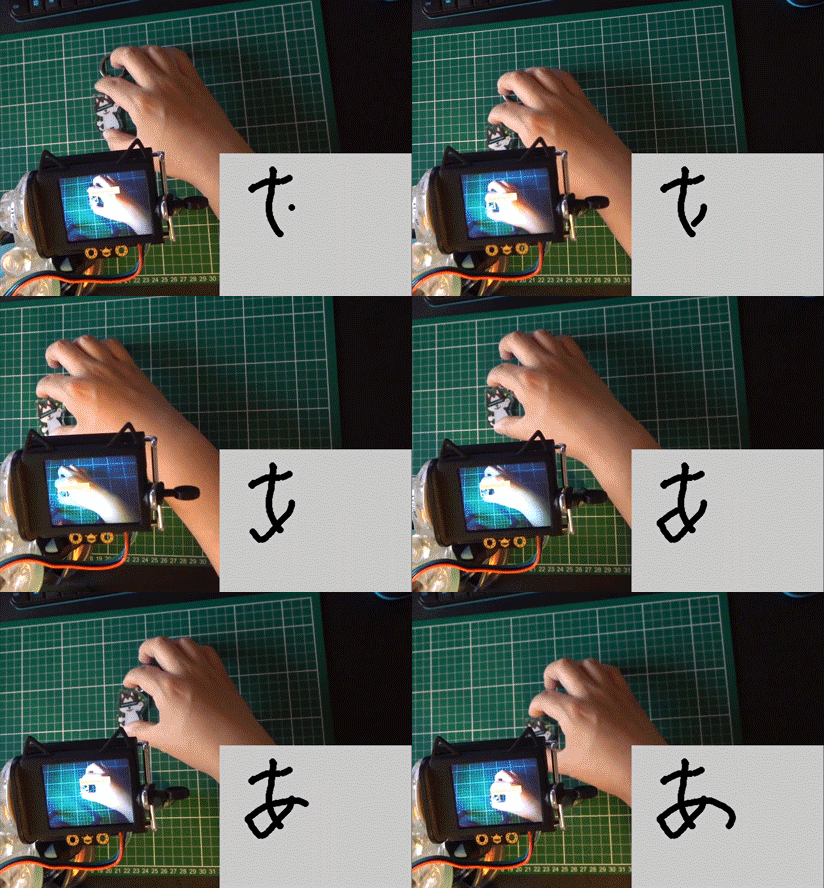
HuskyLens の公式紹介動画にある物体追従によるエフェクト描画みたいのをやりたく実験いたしました。
目次
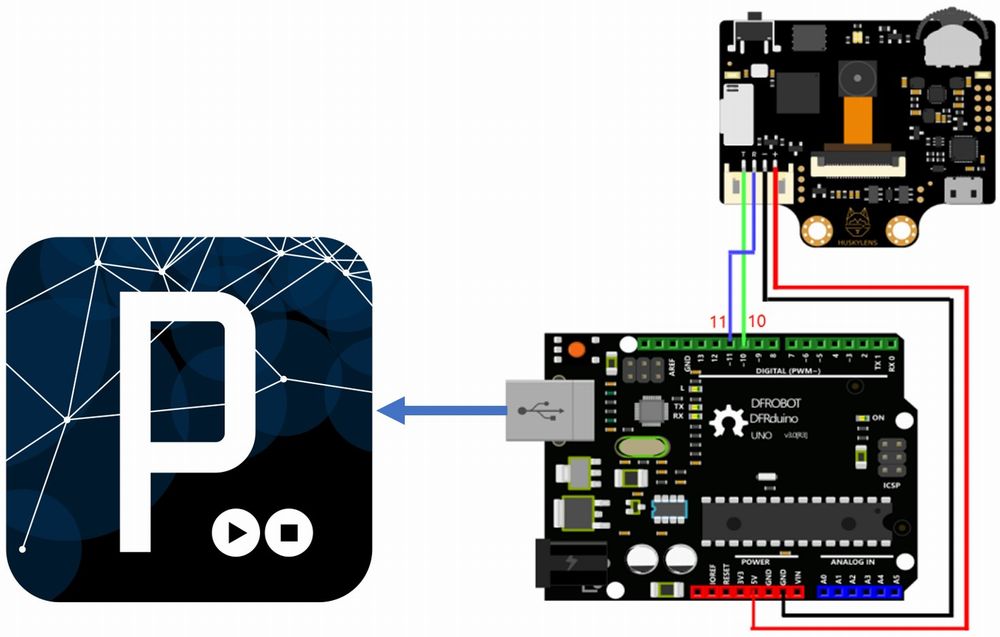
構成
HuskyLens の物体追従機能で学習した物体(ここではHuskyLens君のキーホルダー)の中心座標を検出してArduinoにシリアル伝送します。
更にArduinoからProcessing へ座標を送信してパレットに描画させます。
Arduinoコード
公式のHuskyLens Arduinoチュートリアルを参考にプログラミングしました。
チュートリアル:Arduino Tutorial
Arduinoライブラリ:https://github.com/HuskyLens/HUSKYLENSArduino
参考サンプルコード:HUSKYLENS_GET_STARED.ino
|
1 2 3 4 5 6 7 8 9 10 11 12 13 14 15 16 17 18 19 20 21 22 23 24 25 26 27 28 29 30 31 32 33 34 35 36 37 |
#include "HUSKYLENS.h" #include "SoftwareSerial.h" HUSKYLENS huskylens; SoftwareSerial mySerial(10, 11); // RX, TX //HUSKYLENS green line >> Pin 10; blue line >> Pin 11 void printResult(HUSKYLENSResult result); int x; void setup() { Serial.begin(115200); mySerial.begin(9600); while (!huskylens.begin(mySerial)){ Serial.println(F("Begin failed!")); Serial.println(F("1.Please recheck the \"Protocol Type\" in HUSKYLENS (General Settings>>Protocol Type>>Serial 9600)")); Serial.println(F("2.Please recheck the connection.")); delay(100); } } void loop() { if (!huskylens.request()){} else if(!huskylens.isLearned()){} else if(!huskylens.available()){} else{ while (huskylens.available()){ HUSKYLENSResult result = huskylens.read(); x = result.xCenter; Serial.write('H'); // ヘッダの送信 Serial.write(highByte(x)); Serial.write(lowByte(x)); Serial.write(result.yCenter); } } } |
ソフトウェアシリアル(RX : D10, TX : D11)でHuskyLens からの物体中心座標を受信し、
USBシリアルでPCのProcessingに送信します。
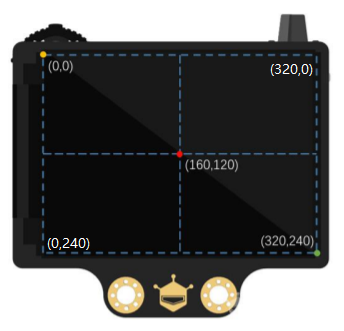
検出される座標はHuskyLensの画像サイズと同様に320×240です。
Processingコード
Arduinoからの座標を受信してパレットに点を描画します。
|
1 2 3 4 5 6 7 8 9 10 11 12 13 14 15 16 17 18 19 20 21 22 23 24 25 26 27 28 29 30 31 32 33 34 35 36 |
import processing.serial.*; Serial serial; int x, y; void setup() { strokeWeight(10); background(200); size(320, 240); serial = new Serial( this, Serial.list()[0], 115200 ); } void draw() { //消去 if ((keyPressed == true) && ((key == 'q'))) { background(200); } point(x, y); } void serialEvent(Serial port) { if ( port.available() >= 4 ) { if ( port.read() == 'H' ) { int high = port.read(); // x 上位バイト読み込み int low = port.read(); // x 下位バイト読み込み y = port.read(); x = high*256 + low; // 上位・下位を合体させる print(x); print(", "); println(y); } } } |
参考
動作
いいですねぇ
物体の学習も簡単だし、シリアル出力でデータを気軽に利用できるので
これはかなり応用ができそう!
応用 (2020/6/4)
Color Recognition 機能で色を3色学習してお絵描きしてみました。
